What’s in our Toolbox?: Tools You Need to Build a Camper Van
So you want to build a van! Well, then you’re going to need the tools to do it. But what exactly are the necessary camper van build tools?
On your first trip to Lowe’s or Home Depot, you probably wandered the aisles overwhelmed by the number of choices and tools available (not to mention the price tags).
Fear not!
You may be surprised by this as we were, but building a van requires far fewer tools than you might think. For the most part, just about everything we use fits (save for our miter saw, shop vac, and a few choice other items) nicely into our toolbox.
One handy-dandy latching box that contains all your #vanlife dreams.
*This post contains affiliate links.

Essential Tools:
Measuring tape:
Duh. Measure twice, cut once… Need I say more?
What We Use: Komelon Monster MagGrip 30’ with magnetic end
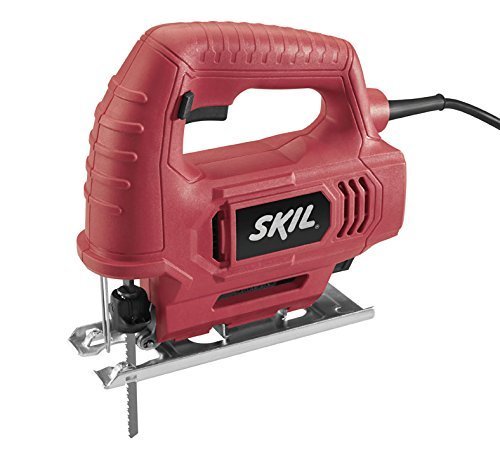
Jigsaw:
If you have limited workspace or a limited tool budget, it’s is the one saw you have to have. It takes up virtually no space and can cut everything you need for your van (albeit more tediously and crookedly than other specialty saws).
We used our jig for all long cuts, detailed edges, as well as for bodywork, such as for cutting the hole for our vent fan in the roof.
It’s not the fastest or the straightest cutter around (but you can use a metal straight edge held down by C -clamps to help guide your saw in a straight line) but it’s pretty idiot-proof and far safer than larger, more powerful saws like table saws.
Plus they’re super affordable to buy! A cheap jig with some high-quality blades (one set for wood and one for metal) are all you need.
What We Use: Skil 4.5 Amp Variable Speed Jig Saw
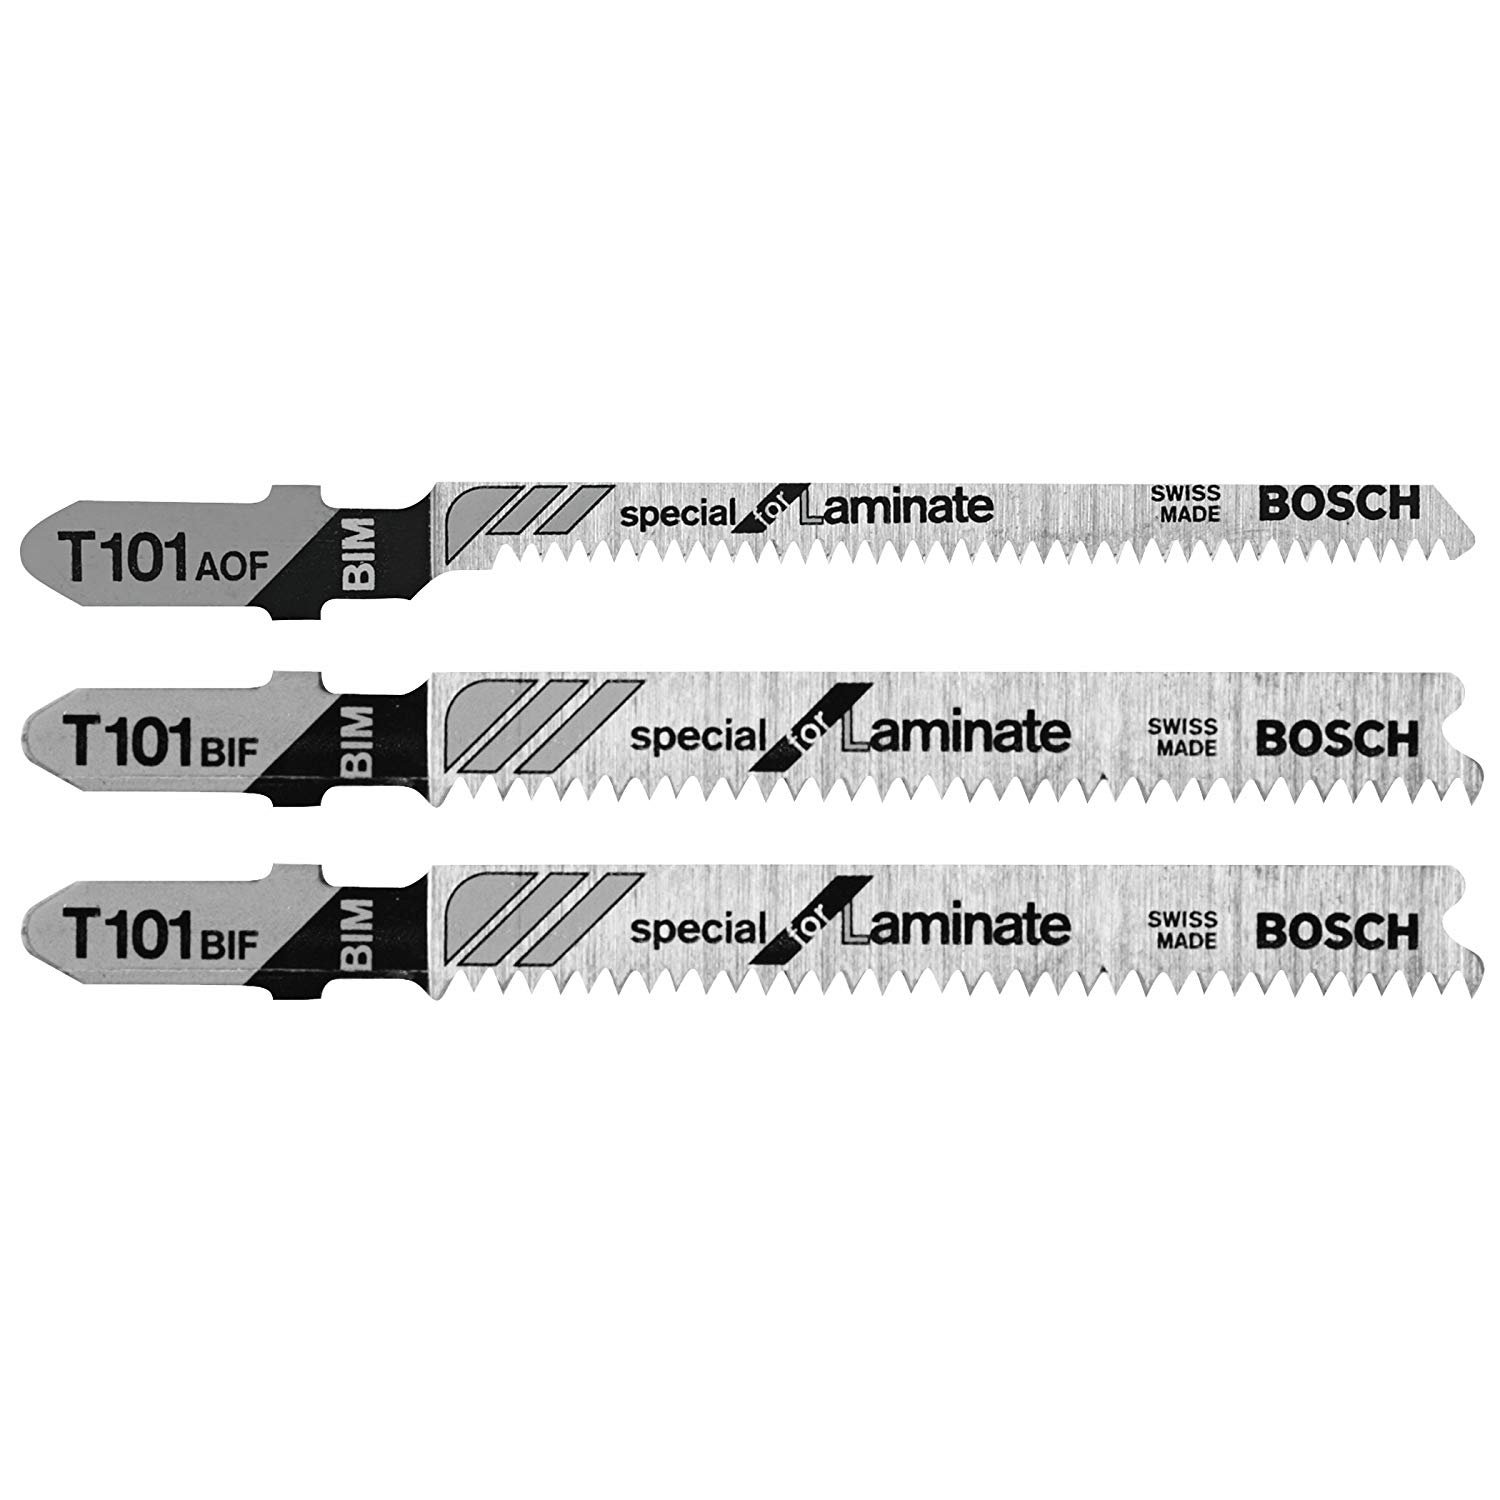
All-around Blades: Bosch T503 Hardwood & Laminate Blades
Metal Blades: Bosch T123X3 Metal Blades or Bosch T118G Metal Blades

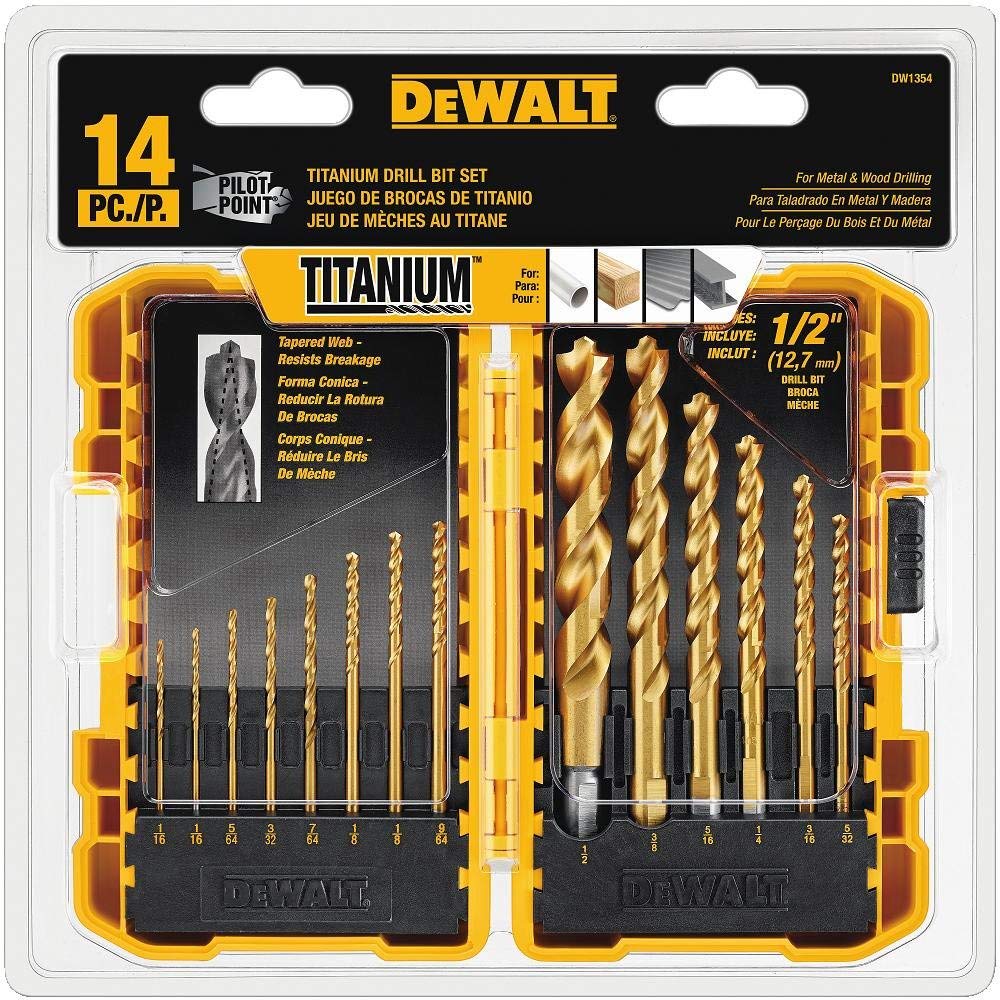
Cordless drill and bit sets:
This is your main tool to construct pretty much everything. You’ll use it for drilling holes, placing screws, attaching studs, you name it. You’ll also want a pretty good set of bits, both to drill different sizes of screws and to bore different sizes of holes.
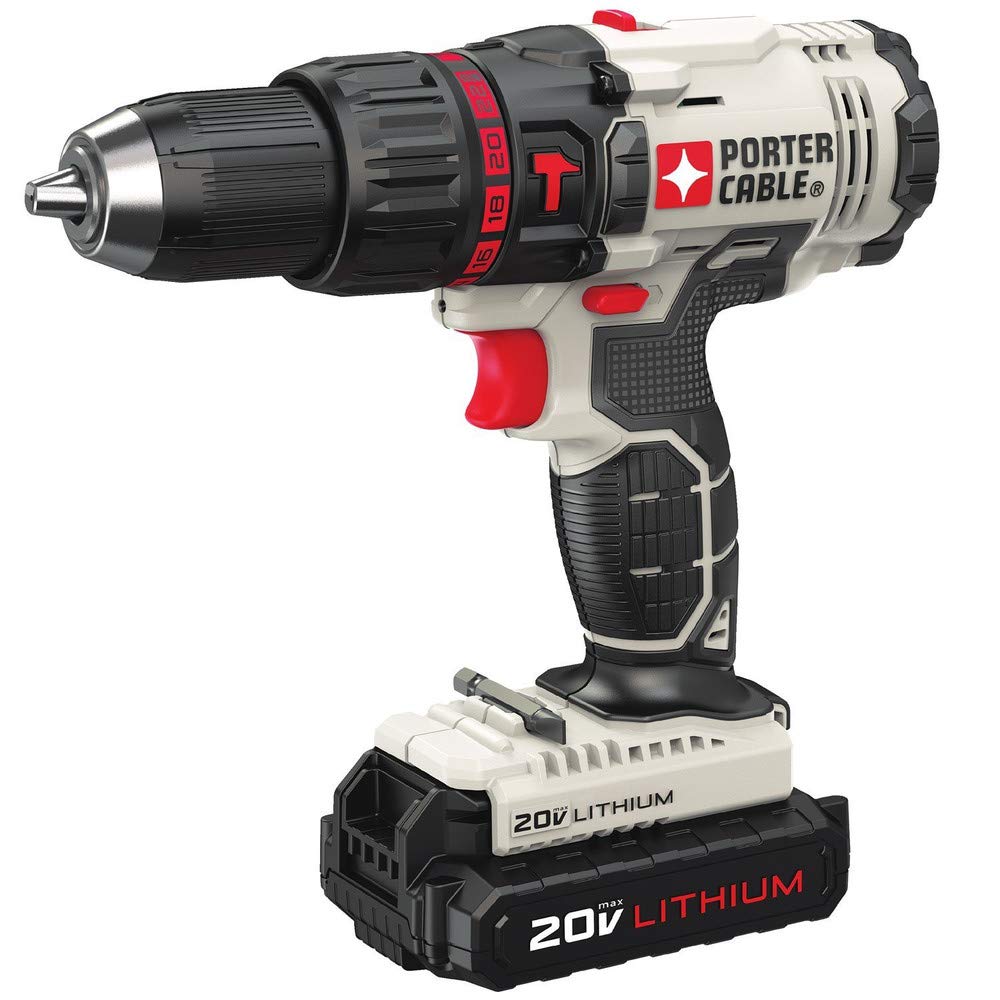
What We Use: Porter-Cable 20-volt Lithium Ion Cordless Drill
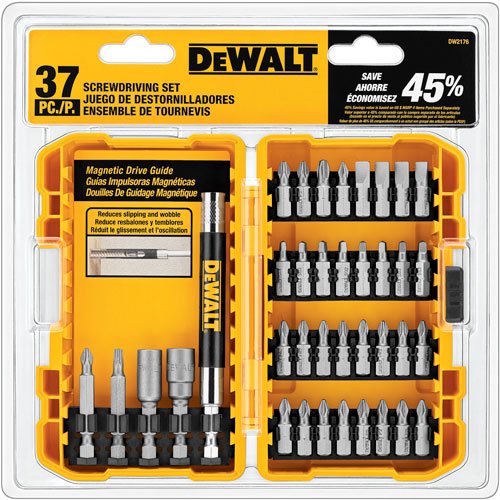
Screwdriving Bits: DeWalt 37-piece screwdriver set with Tough Case
Drill Bits: DeWalt 14 piece Titanium drill bit set (Titanium works on both wood and metal!)
T-square (aka carpenter's square):
ESSENTIAL for making straight edges, proper angles, and accurate measurements on plywood sheets. Go for the 48” inch once you’ll be using it on larger 4’x8’ sheets.
What We Use: Savage 48” Wallboard T-Square
C-clamps:
So many used when building a van! You’ll use these for holding down your straight edge when making big cuts and for holding pieces of wood together for screwing. These are especially necessary for wood glue joints, to adequately apply pressure while the glue dries.
What We Use: Irwin Quick-Grip 3” C-Clamp
Flex Screwdriving Bit Adaptor:
You will come across so many instances where you need to screw something only to find you’ve built something else in the way and the impact driver can’t fit. That’s where a flexible extender on the impact driver works wonders.
It can be a bit tricky to work and keep the bit in place (two sets of hands was usually necessary), but oh man did it made our job easier. We only wish we had bought one sooner!
What We Use: DeWalt Right Angel 12” Impact Flex Shaft
Flat metal bar:
A cheap flat piece of metal only a few millimeters thick will save you so much headache achieving straight cuts with the jig. Line it up with your desired cut line, place the jig guide piece right alongside it, and cut, ensuring you press the jig into the metal strip to keep it straight.
It’s not totally foolproof and will still sometimes yield some wonkiness, but it's so much better than trying to eyeball it.
Gorilla Tape:
Seriously. You know the old cliché that duct tape can fix anything? Well, Gorilla Tape is even better. It’s thicker, more durable, and far stickier. My car mirror was knocked off long ago and it’s still hanging tight with a little bit of this magic.
It’s also SO useful in a van build, from stubborn pieces of insulation to awkward wood joints too skinny and precarious to glue or screw.
What We Use: Gorilla Tape, black
Wood glue:
They say a wood glue joint is the strongest joint you can make, even stronger than screws and nails.
I’m not totally sure if I believe that, we used plenty of wood glue on our build and have had no regrets. This is especially necessary to fastening thinner pieces of plywood too skinny for screws to really work.
Just make sure you keep it clamped for 24 hours to properly dry and set!
What We Use: Gorilla Wood Glue (seriously, Gorilla is a lifesaver!)

Utility Knife:
So many uses and well worth its salt if for no other reason than to help you peel the annoying stickers off the wood you’ll buy. If you’re using any type of foam board insulation, you’ll also definitely need one of these to cut it.
What We Use: Kobalt Quick-Changing Lock-Blade Utility Knife
Caulk gun:
This tool may be useful for several things, depending on your build specifics, but just about every van builder is going to at least need this to apply the sealant around their vent fan.
What We Use: Newborn Drip-Free Smooth Trigger caulking gun
Sandpaper and applicator:
Lots of options here, from foam sander blocks to plastic handles you can clip paper to. In many instances, the paper alone is sufficient, but for bigger jobs, it’s nice to have a more ergonomic tool as well.
What We Use: Aouker Sponge-Handled Hand Sander
Tarp:
Again, another essential piece that 1,000 uses.
Since we build our van without a neat workshop space, we laid a tarp outside on the ground anytime we needed to lay out larger sheets of plywood to measure and cut, to keep the wood clean and protected.
Later, we used it to cover the subfloor (before installing the floating floor tiles) of the van to keep it clean and dry while we worked.
And granted, after a while, they get pretty trashed, but they’re cheap enough that you can just replace it. We used two throughout our build.
What We Use: Hercules 8’x10’ Waterproof Tarp
Necessary Safety Tools:
Facemask:
Anytime you are dealing with powerful aerosols or chemicals or with particulate materials, you’ll want to wear these. For example, if you are using fiberglass (not recommended- read why here) for your insulation, you must not breathe in those particles. Same with using spray adhesives (like 3M 90), epoxies, water sealants, paints, and stains.
Work gloves:
Wood is rough and often splintery. Whatever, choose to wear work gloves as you will, but if you are dealing with finer, skin irritants, wear work gloves. This includes fiberglass and metal. Especially if you are cutting metal, wear work gloves to protect your skin from fine shavings.
Safety glasses:
Always wear your safety glasses any time you are cutting wood, especially with a jig, which can flip up little bits and sharps of wood.
Helpful (but not necessary) Tools:

Miter saw (aka chop saw):
Second to the jig, this is the next more useful saw to have around and it’s also relatively compact and cost-effective.
These are designed for cutting pieces of lumber, like 2”x4” and the like. It can make angled cuts and is a fast, accurate way to buzz up your frame lumber, but the blade has too little range to be much good on larger pieces of plywood and sheet lumber.
What We Use: Hitachi C10FCG 15-Amp 10” Single Bevel Compound Miter
Hammer:
You probably won’t be nailing too much together (the only thing we used nails for were using metal joint plates to hold attach the rails to our bed frame) but a hammer can be useful for various tasks, like prying our unwanted prefabbed pieces off your van and pointing wood joints closer together.
What We Use: Irwin Fiberglass Claw Hammer
Planer:
Sometimes, you’ll cut something only to realize your cut with just a little off… not really enough to be able to jog more off very effectively, but still way too much to sand it down in a reasonable amount of time.
For these jobs, a planer is a faster and more effective manual way to shave down wood. You don’t need to spend a ton on a fancy, electric one; a simple, manual one will do.
What We Use: Saim Heavy Duty Flat Manual Planer
Electric Detail Sander:
For finishing wood faces and cabinets, this ultra-compact electric tool saves you a lot of time from hand sanding. And it’s really cheap for all the time it saves!
What We Use: Black + Decker Mouse Detail Sander

Shop vacuum:
Keeping your workspace clean is important, especially when that workspace is small and soon to be your living space. From styrofoam insulation pieces to sawdust to metal shavings, your van will act as a black hole for all sorts of junk that nests down in all the cracks and crevasses.
I don’t call this essential because technically you can achieve the same thing with a broom, but I really recommend this item because it makes the cleaning process easy and fast. They’re cheap and portable and you can even use them during your vanlife to keep your van clean.
Wet/dry vacs are nice and versatile because they have two different filter functions to clean either wet or dry messes.
What We Use: Shop-Vac 2.5 Gal Handheld Wet/Dry mountable vacuum
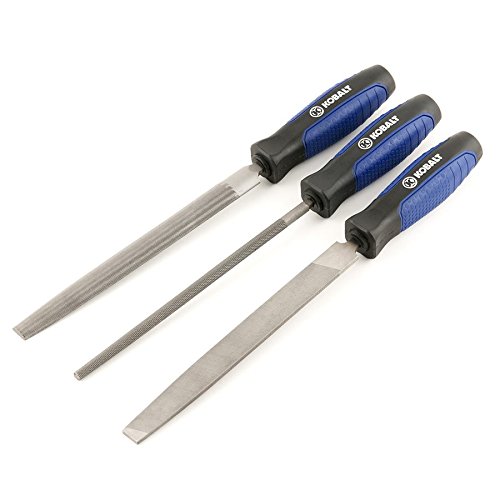
Hand Files:
Wood and metal files are handy to have around. You can use a wood file as an alternative to a planer that is better for grainy edges on which a planer can actually splinter your wood. It’s a lot smaller, too, but it does take a lot of work to file much down. Definitely better than a sander but still tedious.
In some cases, like if you have wood sticking out over the edge of a joint, it’s the only option you really have.
Metal files are great for those times when you screw through something a little on the short side for your screw and you have a little point of metal sticking through the back. You can just grind down that sharp point until it is smooth with the back.
What We Use: Kobalt 8-inch file 3-file set
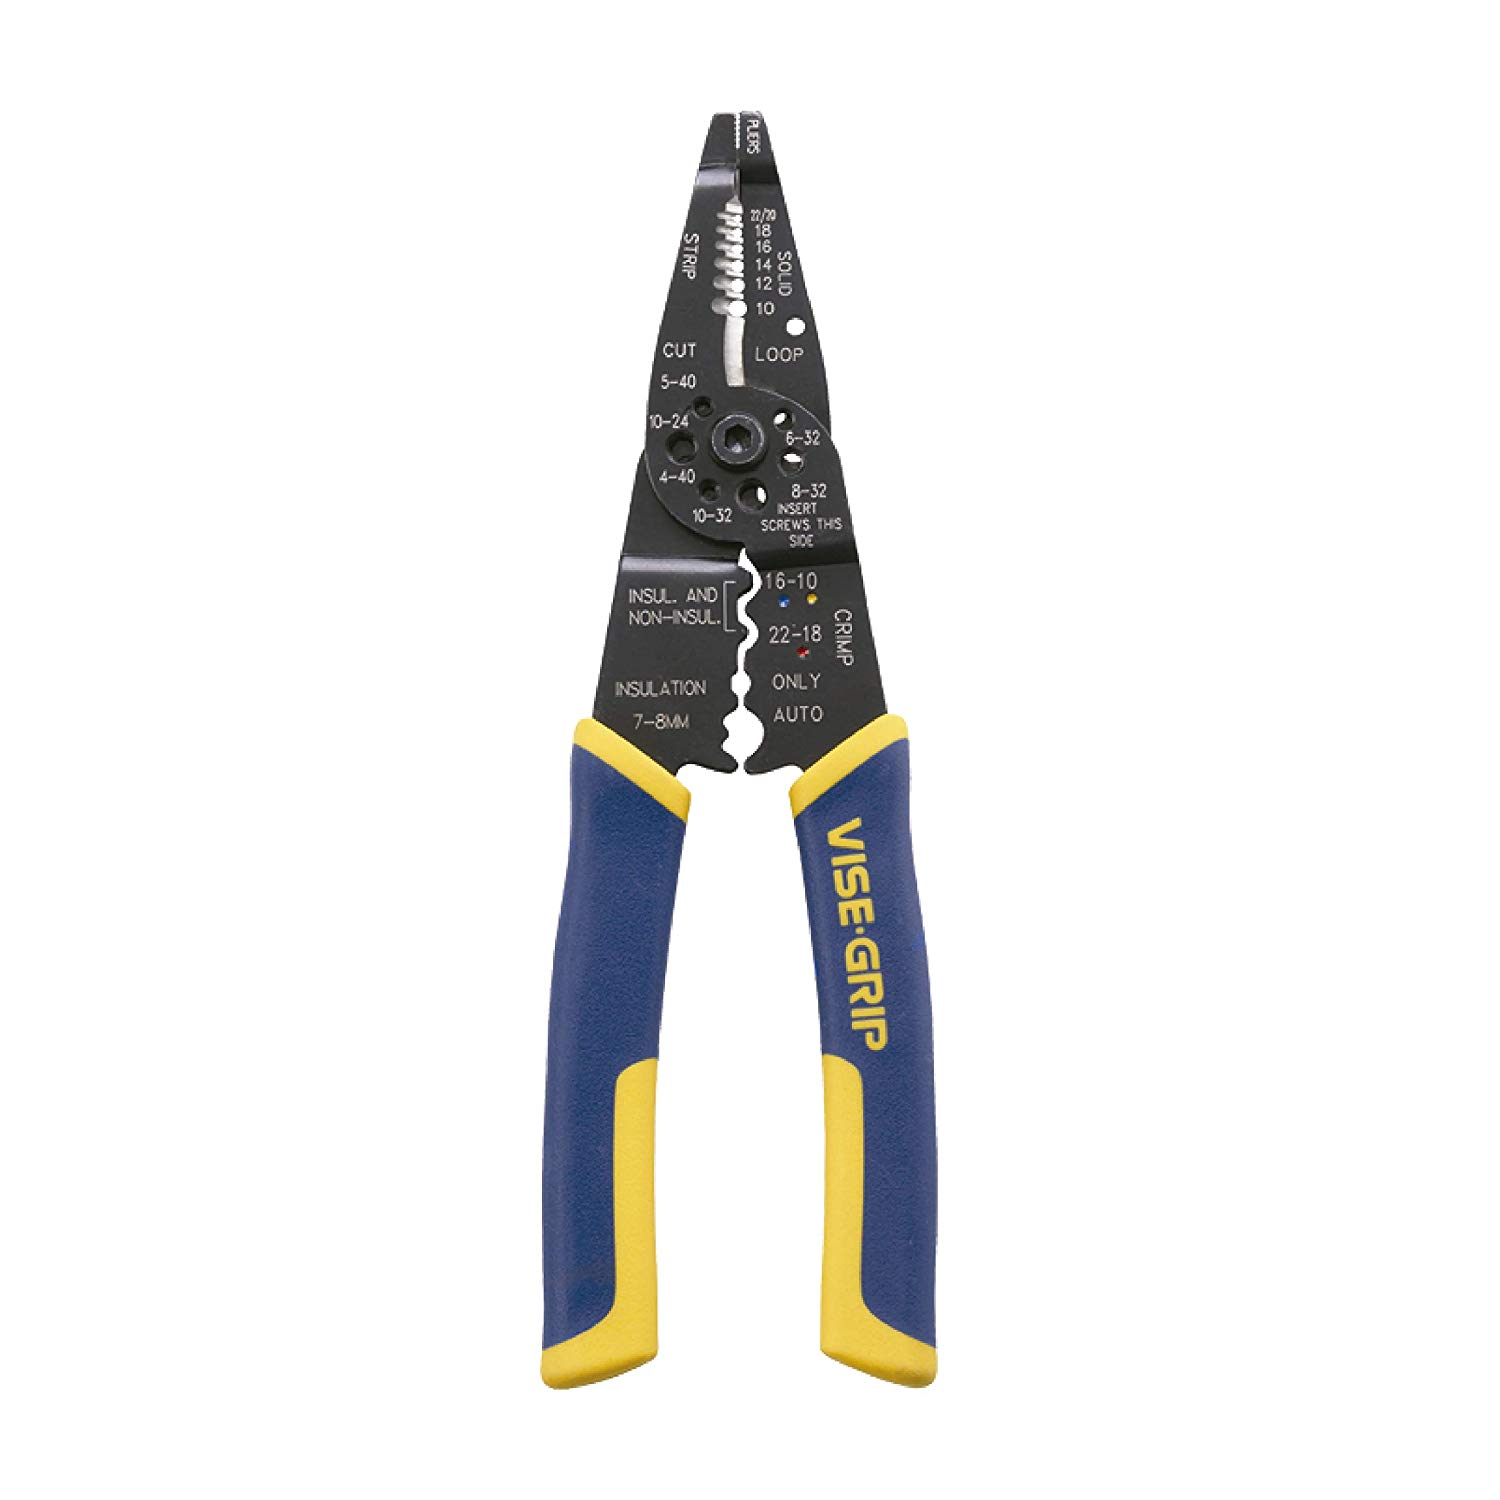
Wire Cutter/Crimper:
For anything electric (like lights, solar panels, vent fan, etc.), you’ll need this simple tool to trim down wiring to the appropriate lengths.
This is definitely essential if you’re doing the wiring yourself. If not, it’s just nice to have if you need to do any on-the-fly repairs.
What We Use: Irwin Vise-Grip 3-in-1 Multi-Tool (Stripper/Crimper/Cutter)
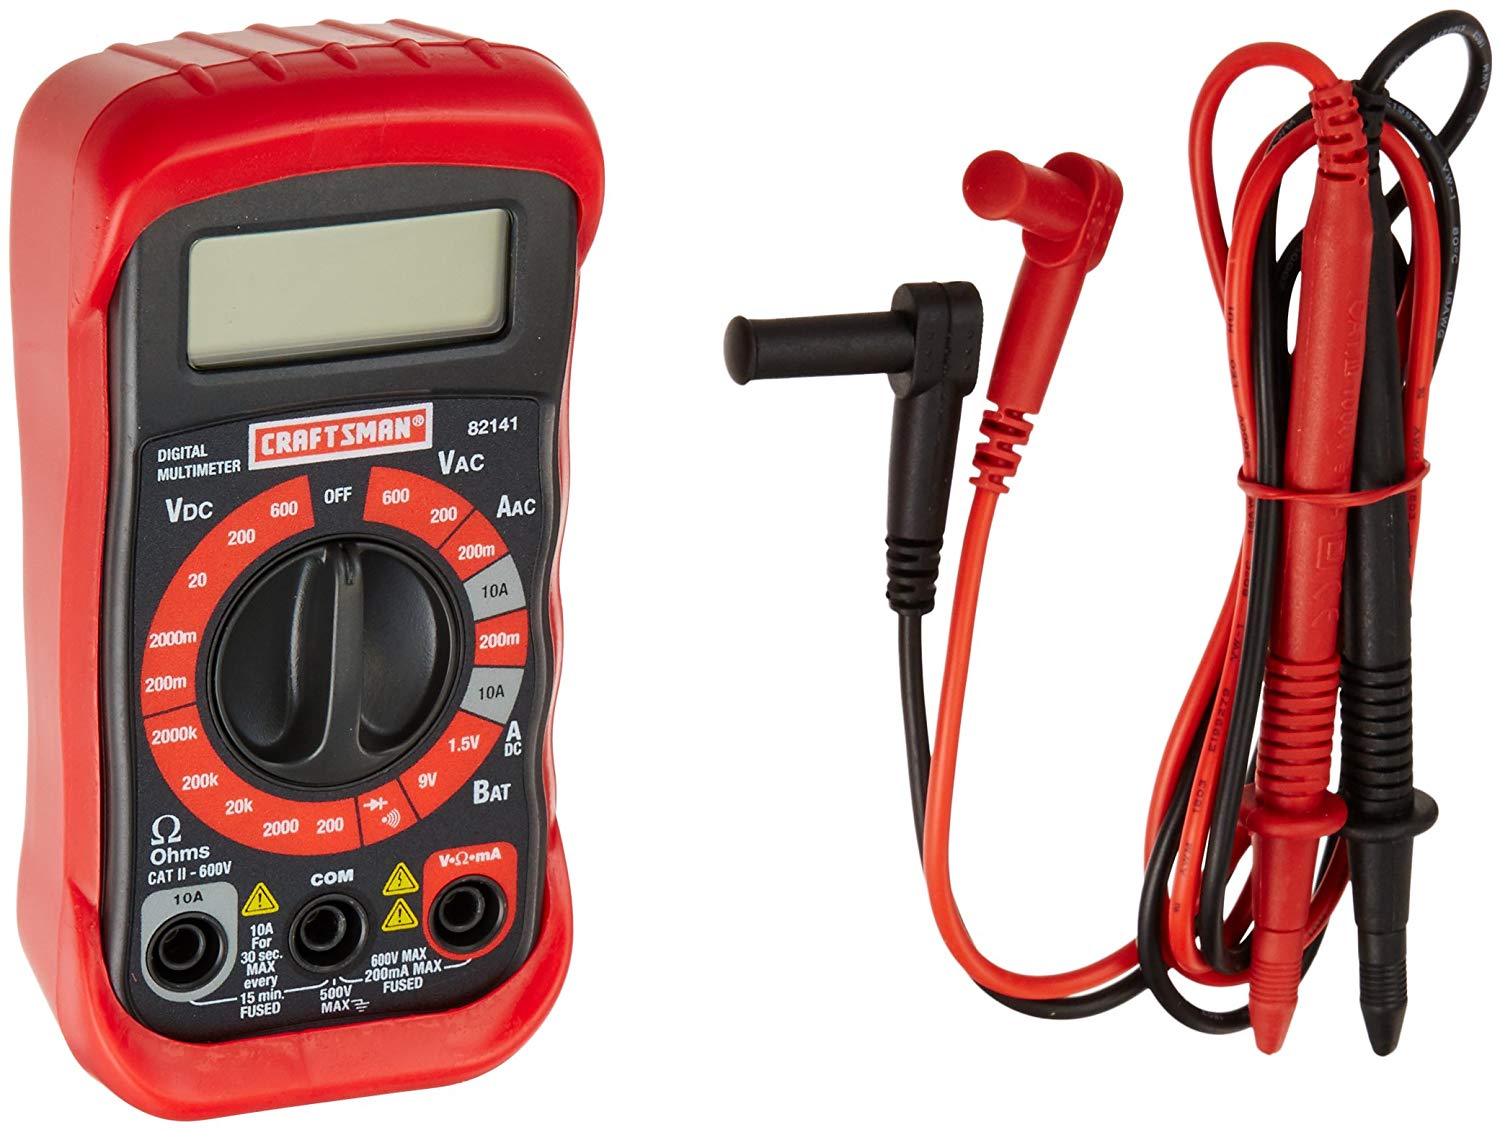
Multimeter:
Use this for checking circuits and voltage when installing your electric system. Even if you aren’t installing your own electric system, this is an awesome little tool to have on hand for future van life, as it can help diagnose issues in your electric set-up.
What We Use: Craftsman Digital Multimeter
Luxury Tools:
These are things that make the job easier if you have the resources and space, which we mostly did not, so we did not actually use any of these, but they are options that can save you a lot of time and hassle.
Table Saw:
These are amazing for long, straight cuts of plywood, like for wall paneling and cabinets, but they’re also huge and expensive (not to mention super dangerous… just ask Tommy Caldwell). If you have access to this and the proper knowledge to use it, by all means.
Lots of make “Jobsite Table Saw” version that are more portable and more affordable than a regular table saw.
Find Jobsite Table Saws here: Toolnut / Hardware World
Compressor Powered Nail Gun:
If you are wood paneling your van, a nail gun powered by an air compressor is a super fast and easy way to get that paneling done. Compressors are bulky and expensive, however, but if you already have access to one, take advantage.
Find Compressor Powered Nail Guns here: Toolnut / Hardware World

Obviously, these are just generic tools. This isn’t even to speak of more specific building materials (which we’ll go more in depth about in subsequent posts about each stage of the van build).
Depending on how in-depth your van build is and the specific requirements of your van, you may need even more tools.
For instance, if you are gutting your van (as opposed to buying an empty shell), you may need things like an angle grinder to grind off bolts and strange bits of metal.
Find Angle Grinders here: Toolnut / Hardware World / Amazon
We hope this list of tools for building out a van has been a helpful resource and a good starting guide for your basic build needs. Please reach out or comment with any tool recommendations, questions, or comments!
**This post contains affiliate links to support the continued creation of these van life guides. This just means that if you purchase something from one of the links above, I get a small commission from the sale at no cost to you. Read more here or reach out with more questions.