Van Flooring: Laying the Base of Your Camper Van Build

*This post contains affiliate links.
Navigation for Camper Van Floor Installation
Step 1: Installing the Subfloor
PART 1: LAYING YOUR CAMPERVAN SUBFLOOR
Make sure you have ample space to do lay out your subfloor when prepping it. Since the theme of our build was having limited, difficult work space, our kind neighbor temporarily abandoned her parking space so we could trace and cut the subfloor.
Before you can begin installing the floor of your camper van, first make sure you’ve insulated it.
Check out our post on camper van Insulation for more on this.
We used Reflectix though now that we’ve lived in our van and found the floor to be the coldest part of it, we wish we would have gone with something with a little higher R-value.
Once you’ve done that, you can start on the subfloor.
The subfloor is, as the name hopefully gives away, is essentially a more layer of lumber that goes under your actual floor that gives it stability and durability. It’s one of the most important parts of your build, but blessedly pretty easy in comparison to later tasks.
Will you be screwing into your subfloor?
Thick plywood is nice and durable…. but it’s a bitch to work with.
Do you intend to mount your frame and furnishings directly to the subfloor? Or will things just set on top of it and mount into your wall studs? The answer to this question will determine how thick you want the subfloor to be.
The thicker it is, the more securely you can screw into it. A thicker subfloor has the bonus of stability and durability.
A thinner subfloor has the benefit of less weight and eating into the height of your van less.
Since height wasn’t a concern for us (2 very short people in a very tall van), we chose to use ¾” for exterior plywood that would be plenty thick to screw into. You don’t need to break the bank on plywood. Just the cheapest plywood around will suit the subfloor fine, especially since you’re already talking heavy costs for thicker plywood.
Tools You’ll Need:
Template material (such as cardboard, factory-made rubber floor mats, or Reflectix)
Subfloor Installation Steps:
Step 2: We used out Reflectix floor insulation as an easy-to-work-with template to trace out our van floor.
Make sure your floor is clean.
Since you’ve likely been installing insulation or perhaps even the frame studs in your van already, you’ve probably already got a bunch of little flakes in there, like styrofoam bits, sawdust, and dirt. Make sure to thoroughly sweep or vacuum all this out before laying the subfloor. We found our handheld 2.5L ShopVac to be indispensable for jobs like this. It just gets all the cracks where a broom can’t.
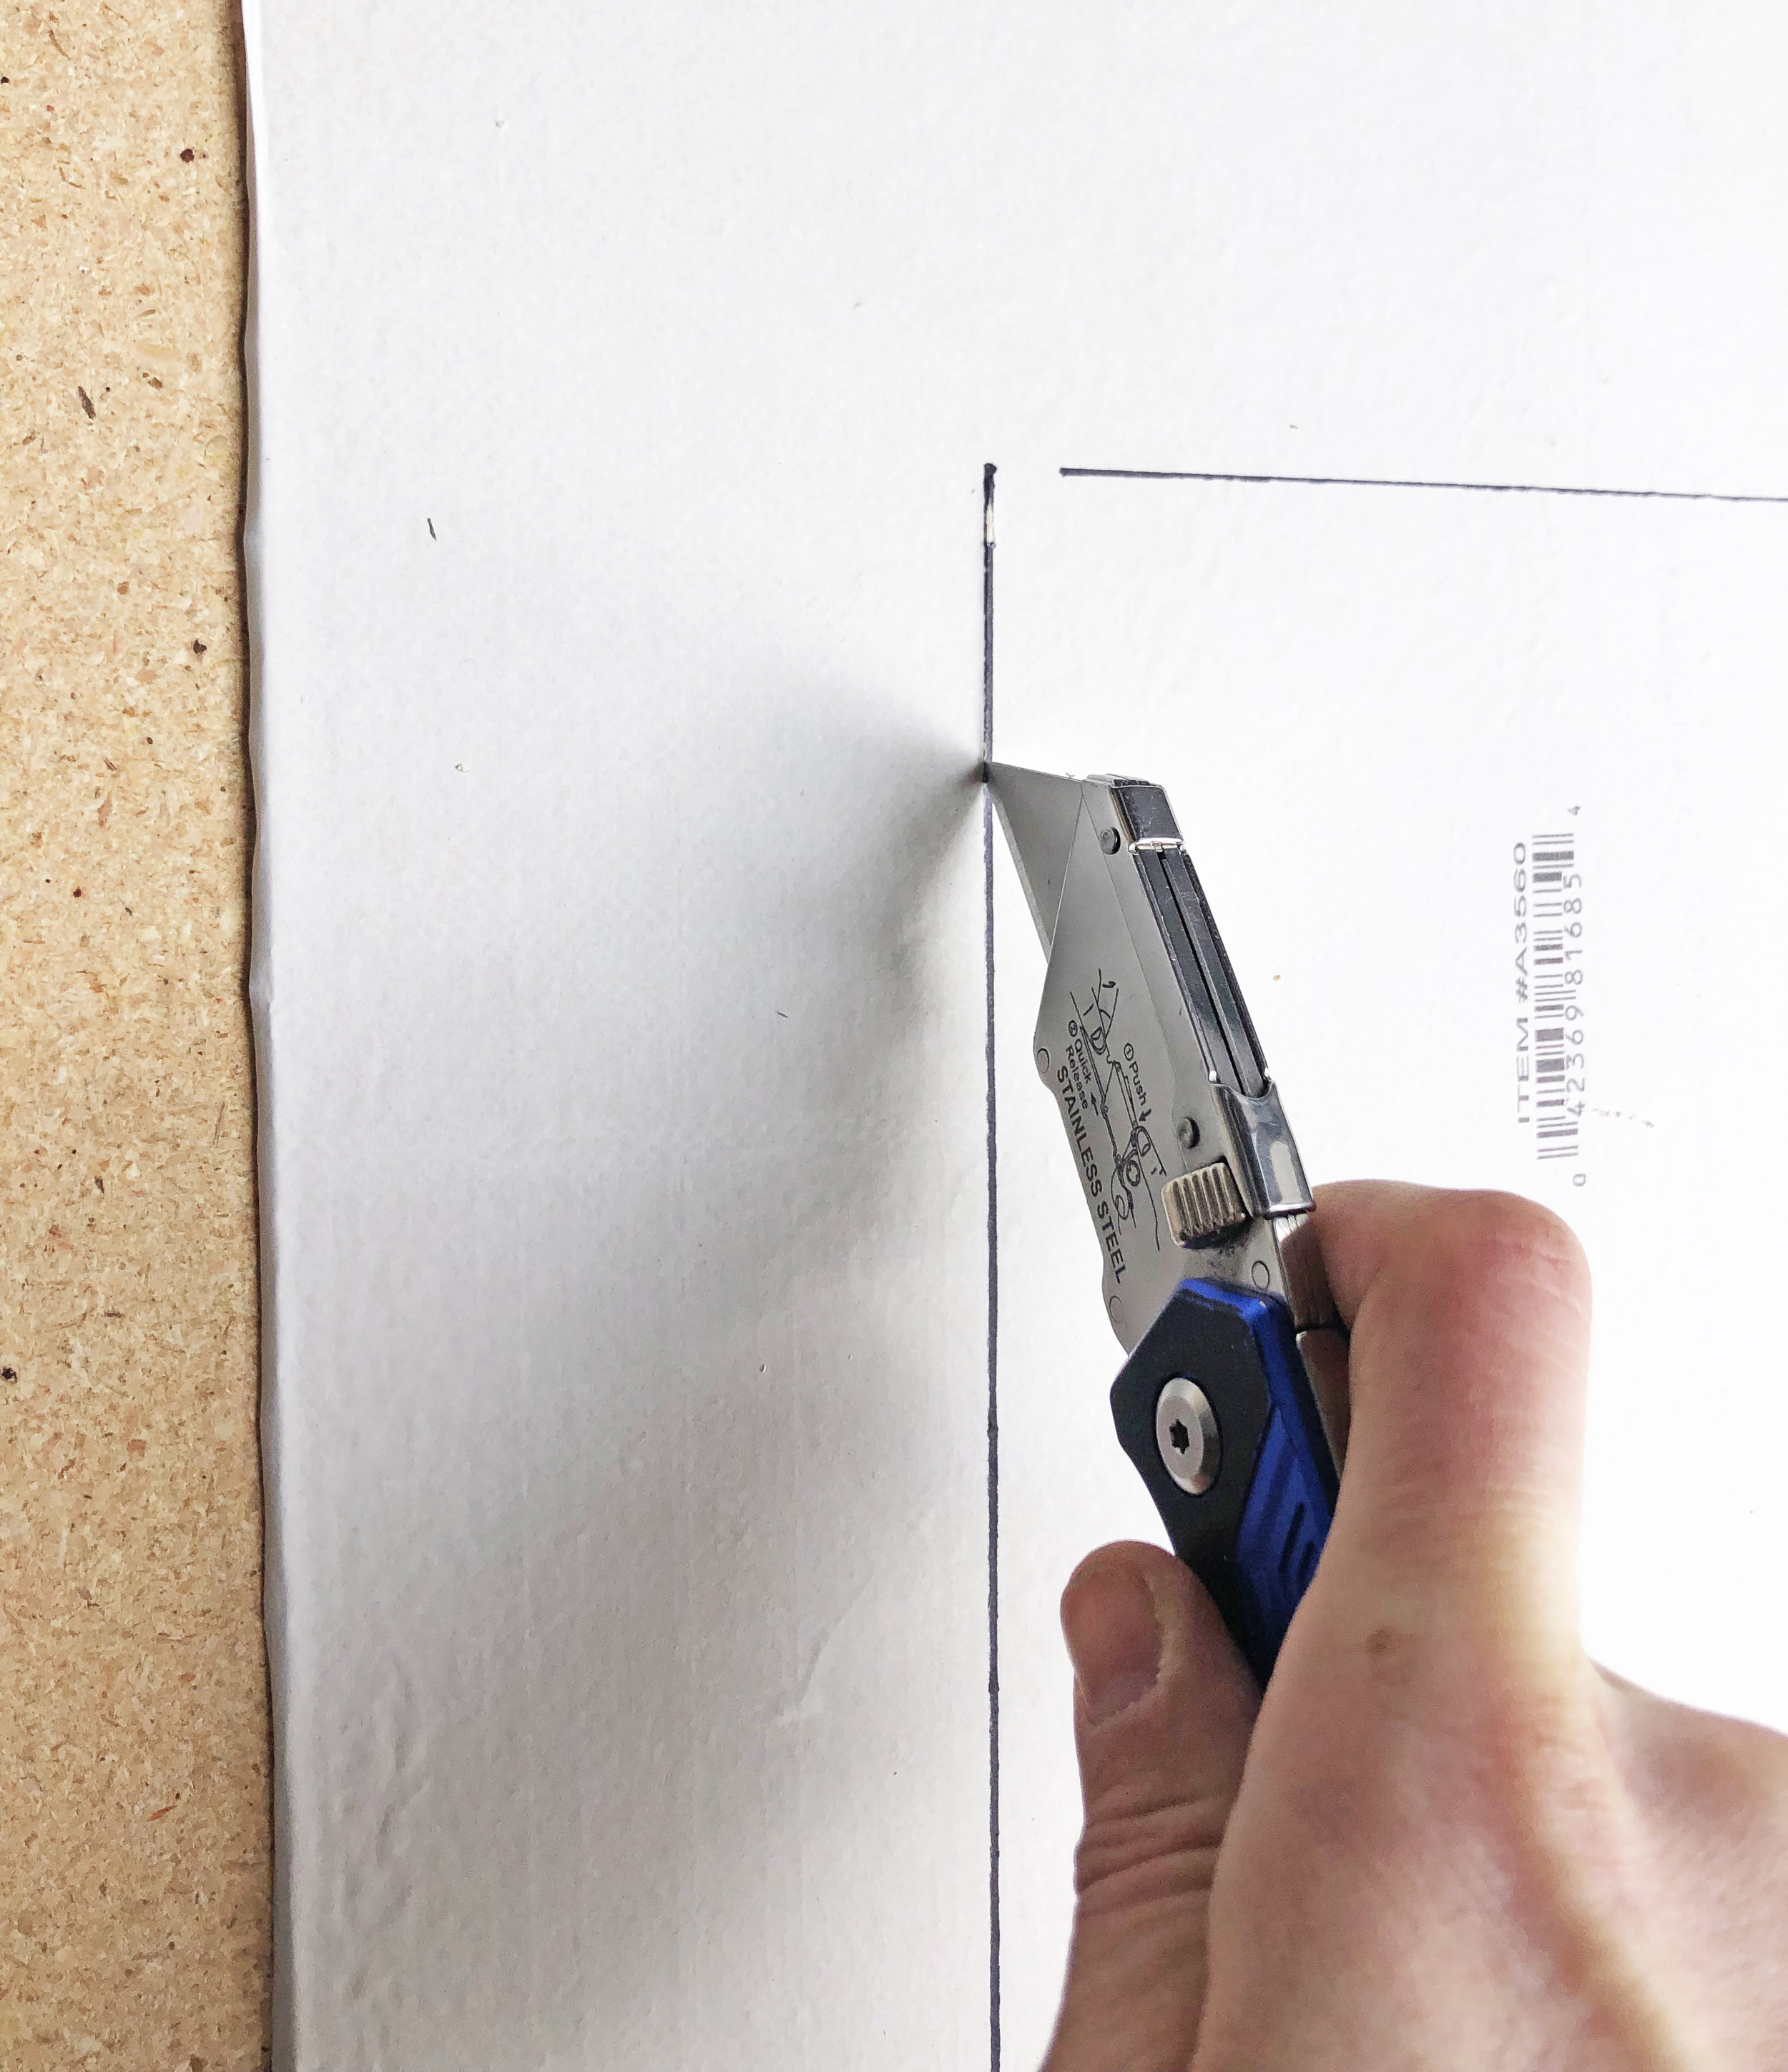
Make a template of your floor.
Many people use cardboard but we found this a little unruly for capturing the curves.
We actually used the underlying Reflectix insulation prior to adhering it to the metal floor of the van. Reflectix plies easily making it super easy to match curves, while still being rigid enough not to buckle and fold while drawing the template.
Trace the template on the plywood.
You’ll more than likely need more than 1 piece of plywood. Our 4 segment subfloor took up most of 4 pieces of 4’ x 8’ plywood.
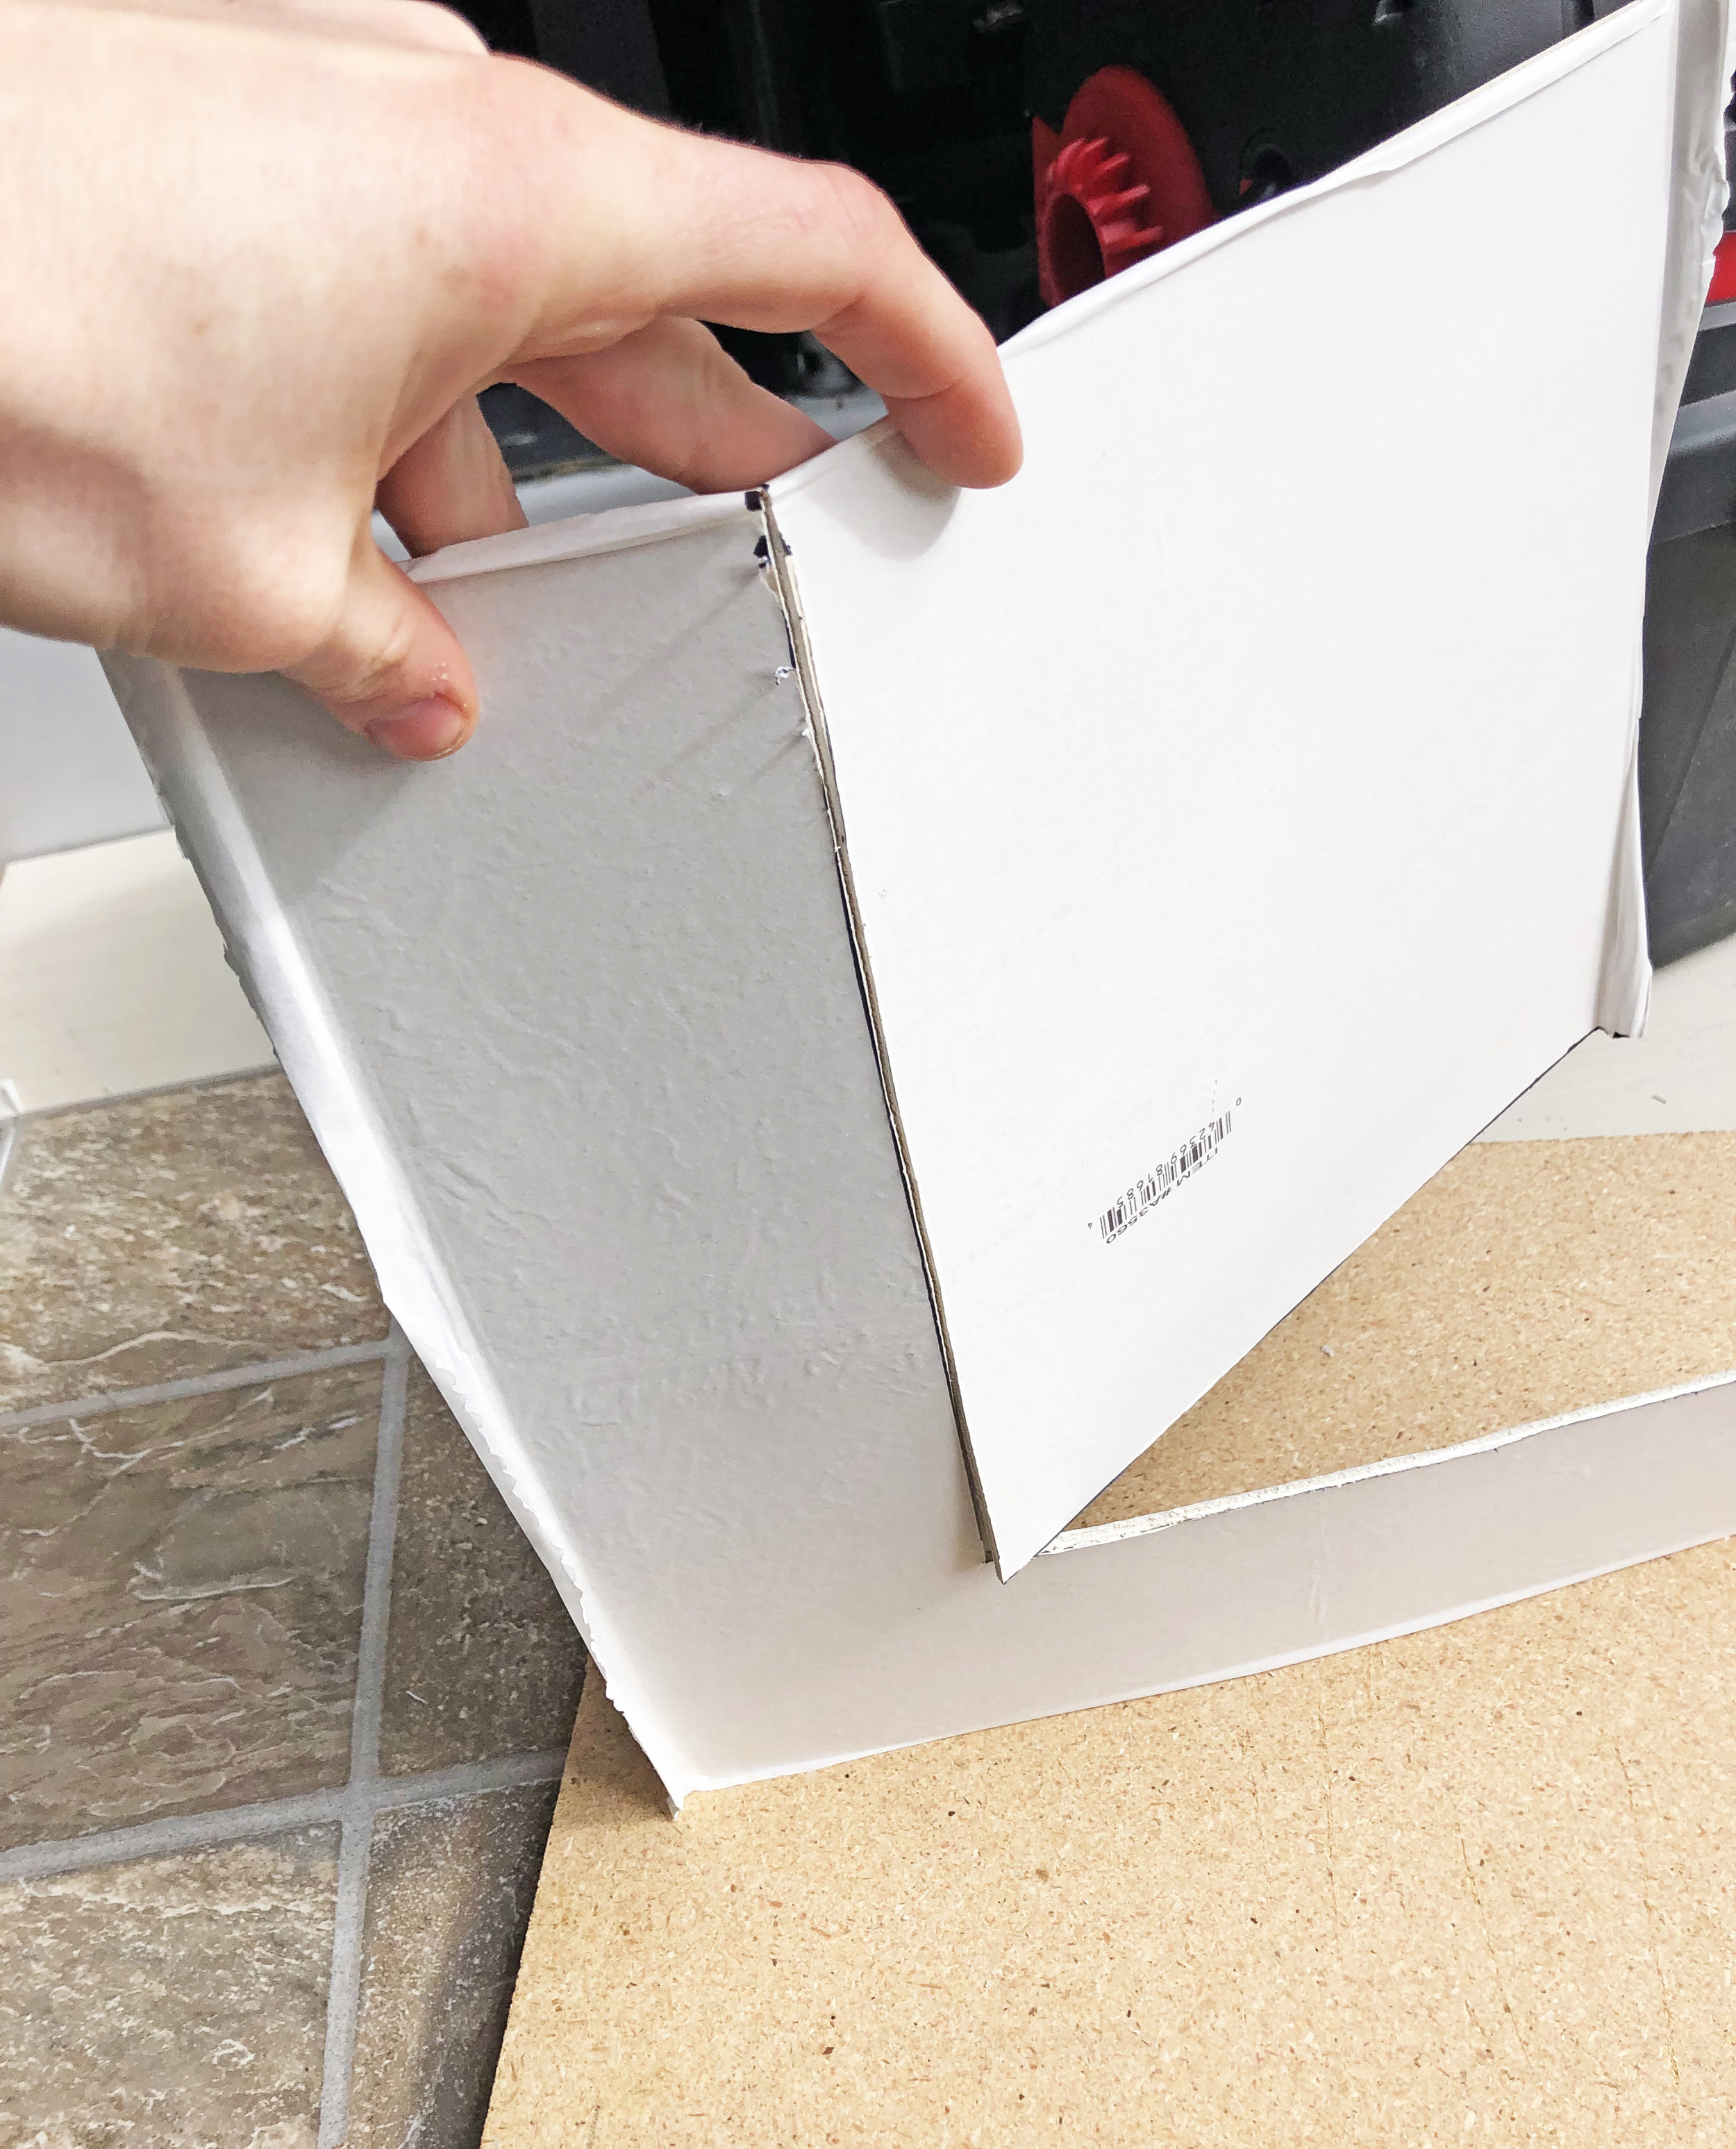
Cut the subfloor out along your tracing.
We did this entire job with our handy dandy jigsaw, no trouble whatsoever. This was also the job that made me confident in my jig skills, something that carried me through the rest of the build.
Install the subfloor in the van.
You can either make your subfloor floating (meaning it’s not actually held down by anything but its own weight) or fasten it down with adhesive.
We opted for the latter and used some basic 3M90 spray to bond the plywood to the Reflectix. If you want to add some extra soundproofing and insulation, you can add some Gaps and Cracks spray foam insulation around the edges.
Optional:
Add a waterproof barrier. Spending on what type of flooring you plan on doing over the subfloor (which we’ll get to shortly), you may want to add an extra waterproof layer to prevent any spills and moisture from getting through the cracks of your upper floor and molding the subfloor (bad news!).
We did not do this, since we installed 2 layers of flooring above it, but if you’re going to put down only flooring like hardwood panels, it might be a good idea. This can be a rubber mat or even just a thick sheet of painter’s plastic.
That’s it!
Subfloor is done. Now you can proceed with your build.


PART 2: LAYING YOUR FINAL FLOOR
[Insert big gap here]
Well, if you’re us anyway. While the subfloor was one of the first things we did in our van build, the actual flooring was one of the last. Why the big gap? Well, it all boils down to which option you choose as to whether you want your upper floor to cover your whole van or just the visible floor space.
Let’s break it down.
OPTION 1: Lay out your entire van floor before building any furniture.
Pros:
It’s easy: With no standing fixtures, you can lay out your floor without having to dodge much more than the wheel wells, which should be easy provided you’ve already built boxes around them while framing your van.
Fewer gaps to keep clean: Complete floor coverage ensures that you won’t have little gaps and cracks near the edges of furniture in which dirt and moisture can get trapped.
Cons:
More weight: The more area you have to cover, the more material you’ll need, which will add weight to your build that’s not entirely necessary. If you’re using something light like vinyl, this is less of a concern, but heavier materials add up quickly.
Higher cost: As with above, more square footage to cover means you’ll need to buy more material.
Less stability: Without the ability to screw into your subfloor, all your furnishings will need to be affixed to the wall studs instead, which are far less stable than the floor. While you can screw through your flooring and into the subfloor altogether, some types of flooring are less amenable to this, such as vinyl.

OPTION 2: Build your furniture directly onto the van subfloor and install upper flooring around it.
We opted for this option because we wanted the option to screw out fixtures directly into the subfloor, rather than into more unstable laminate.
Pros:
More stability for fixtures: Having the option to screw directly into the subfloor is indispensable. It means you can center the weight of your fixtures (cabinets, counters, appliances, etc) to the floor rather than the walls. Remember how when you installed those wall studs, they didn’t seem like they could hold much? They can, but let’s not push the envelope.
Less weight: Always key in any van build. Gas mileage matters!
Less material needed: We all love saving money… That’s why we’re moving into a van!
Cons:
Harder to install: Because you’ll be going around existing shapes, you’ll spend a lot of time cutting and recutting to make pieces fit the spaces they need to go. Even if you’re using something small like 1’x1’ vinyl tile (as we did) the edges required incredible patience to get just right. We’ll get into that process just below.
Limited flooring options: This only works if you're using smaller, easy-to-cut flooring since you’ll end up puzzle-piecing it around existing fixtures. This included vinyl flooring and laminate tiles.
Damage to subfloor during van build: If you are going to wait until a later stage of the van build to do the final floor, be conscious to keep your subfloor dry and in good condition.
We tried to keep a tarp over it most of the time, but even still, the seam between two segments near the door got a little wet and moldy. We had to sand and scrape out the mold before proceeding.
LET’S LAY OUT ALL YOUR VAN FLOOR OPTIONS.
Once the subfloor is installed, then consider what type of flooring you want over top. The most standard options available are:
Ceramic tile: Heavy and breakable so not really recommended for a van. Plus the grouting process is extremely messy.
Hardwood: Hardwood looks nice no doubt, but for a heavily trafficked camper van, it’s not the most dependable option. Depending on the thickness and type of wood, hardwood can be really heavy. Even when sealed, it’s also susceptible to staining, mold, and moisture damage.
Laminate: Your most durable, life-proof synthetic option. This stuff is easy to clean, spillproof, and pretty much stainproof. It’s a bit thick and heavy and thus harder to cut (you’ll need special laminate blades for your jigsaw to do it). However, for true durability, which you want in a van floor, there’s nothing better.
Vinyl: Vinyl is the next best option for those looking for something a lot lighter and easier to install. It also comes in a wide variety of textures and shapes, from mimicking stone tile to wood planks.
Since most vinyl is peel-and-stick, you don’t need another adhesive to install. Its thinness makes it super easy to cut, too, without any specialty tools. All you’ll need is a utility knife to score the sheet and then simply snap it by hand.
Carpet: Super easy to lay down but not very durable and pretty much impossible to keep clean.
Keep in mind that you probably won’t have a vacuum. Plus, in such a limited traffic space, your carpet will wear out very quickly. If you do opt for camper van carpeting, choose something low pile and durable (think utility carpeting).
Rubberized floor: This mostly applies if you’re working with a can that already has some sort of rubberized industrial flooring in it. A lot of converted passenger vans will be like this, as opposed to the metal floor of the cargo van.
These factory floors are designed to take a beating, but they don’t have much visual appeal.
Tongue and groove?
Tongue and groove is an option for both hardwood and laminate planks. It’s essentially an integrated system to lock your planks together.
One side has a notch that comes out (the tongue) and the other a notch cut to perfectly fit the tongue (the groove). You line them up and snap them into place, providing a tight dirt- and moisture-resistant seal.
It sounds really great (and totally is once done) but the actual process of snapping them into place is actually pretty physical and hard. Definitely don’t go this route if you’re choosing to lay your floor around your furnishings.
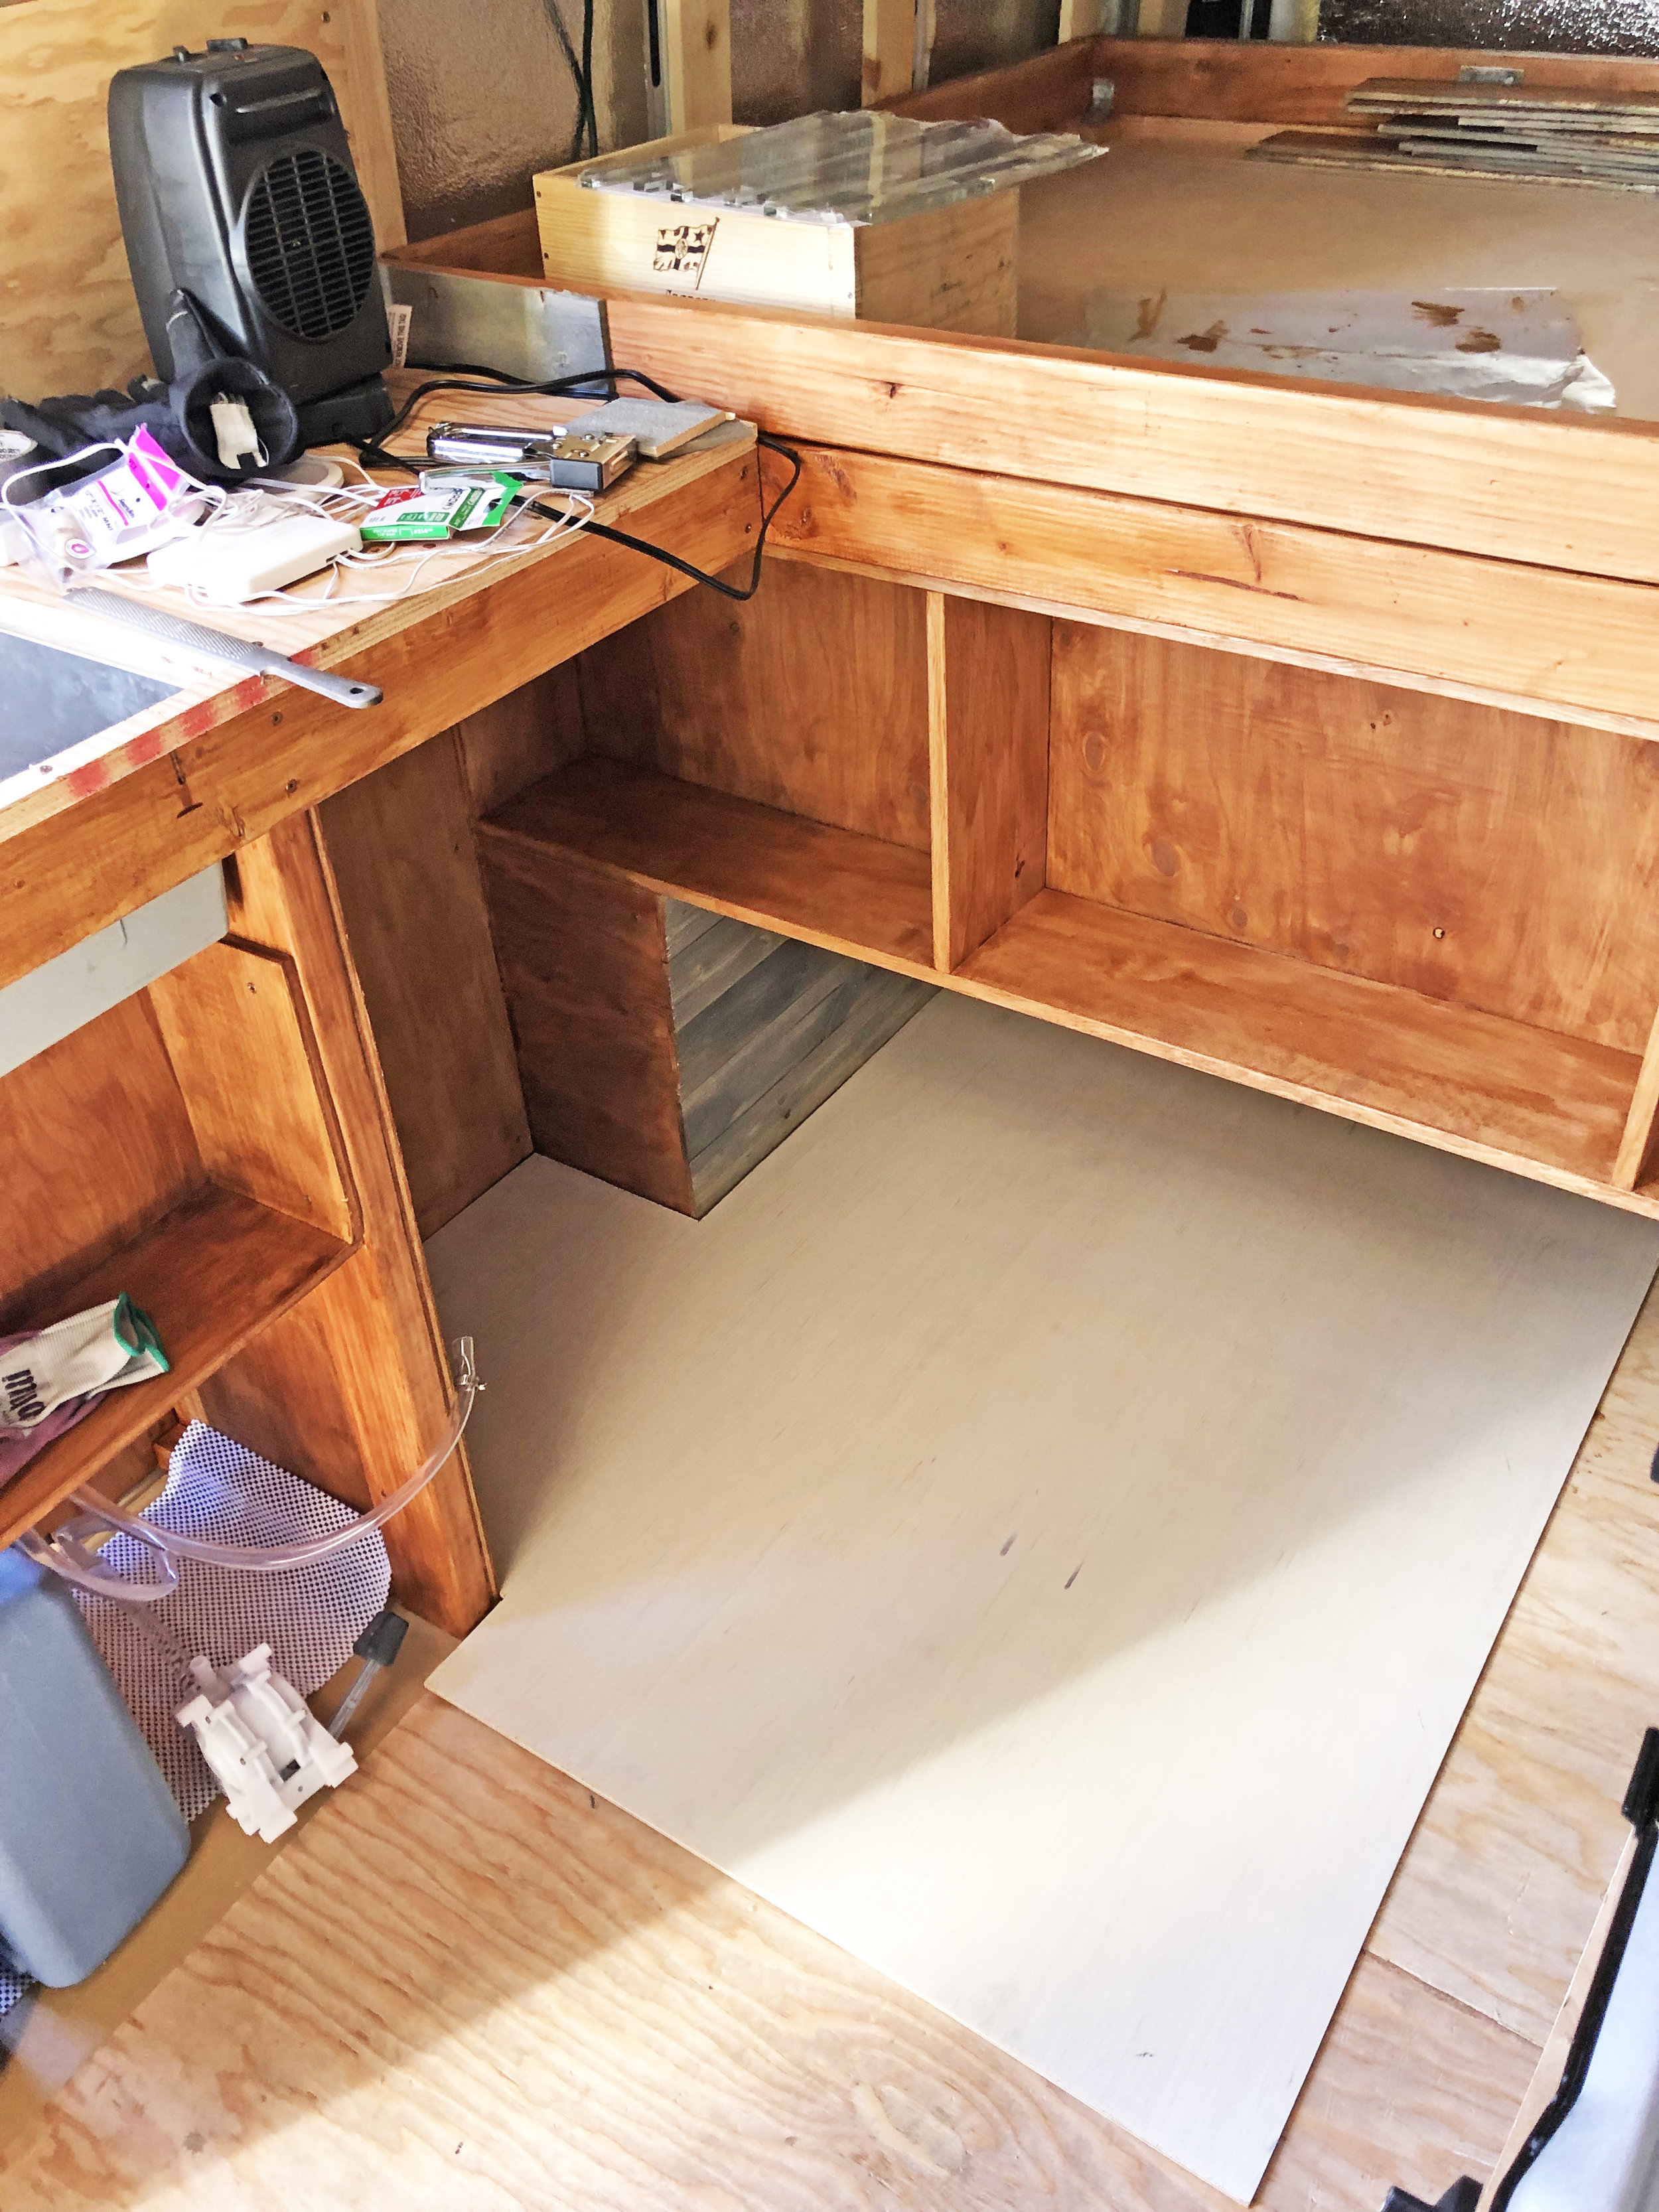
Laying the sub subfloor sheets in the back around the storage compartments we had already build was tricky and tedious. We designed it to use as large of sheets as possible.
Do you need a sub-subfloor?
No, I haven’t been sniffing too much 3M90. These are just much thinner sheets of plywood that basically act as a layer for your actual floor to adhere to. If using any sort of adhesive based flooring, like peel and stick vinyl, a floating subfloor is a good idea. Footing sees a lot of wear and tear and you never know if you’ll need to redo it.
You DON’T want to have to do damage to your subfloor to do it, however. Again, your subfloor is the base of everything so bear in mind its preservation through the stages of flooring.
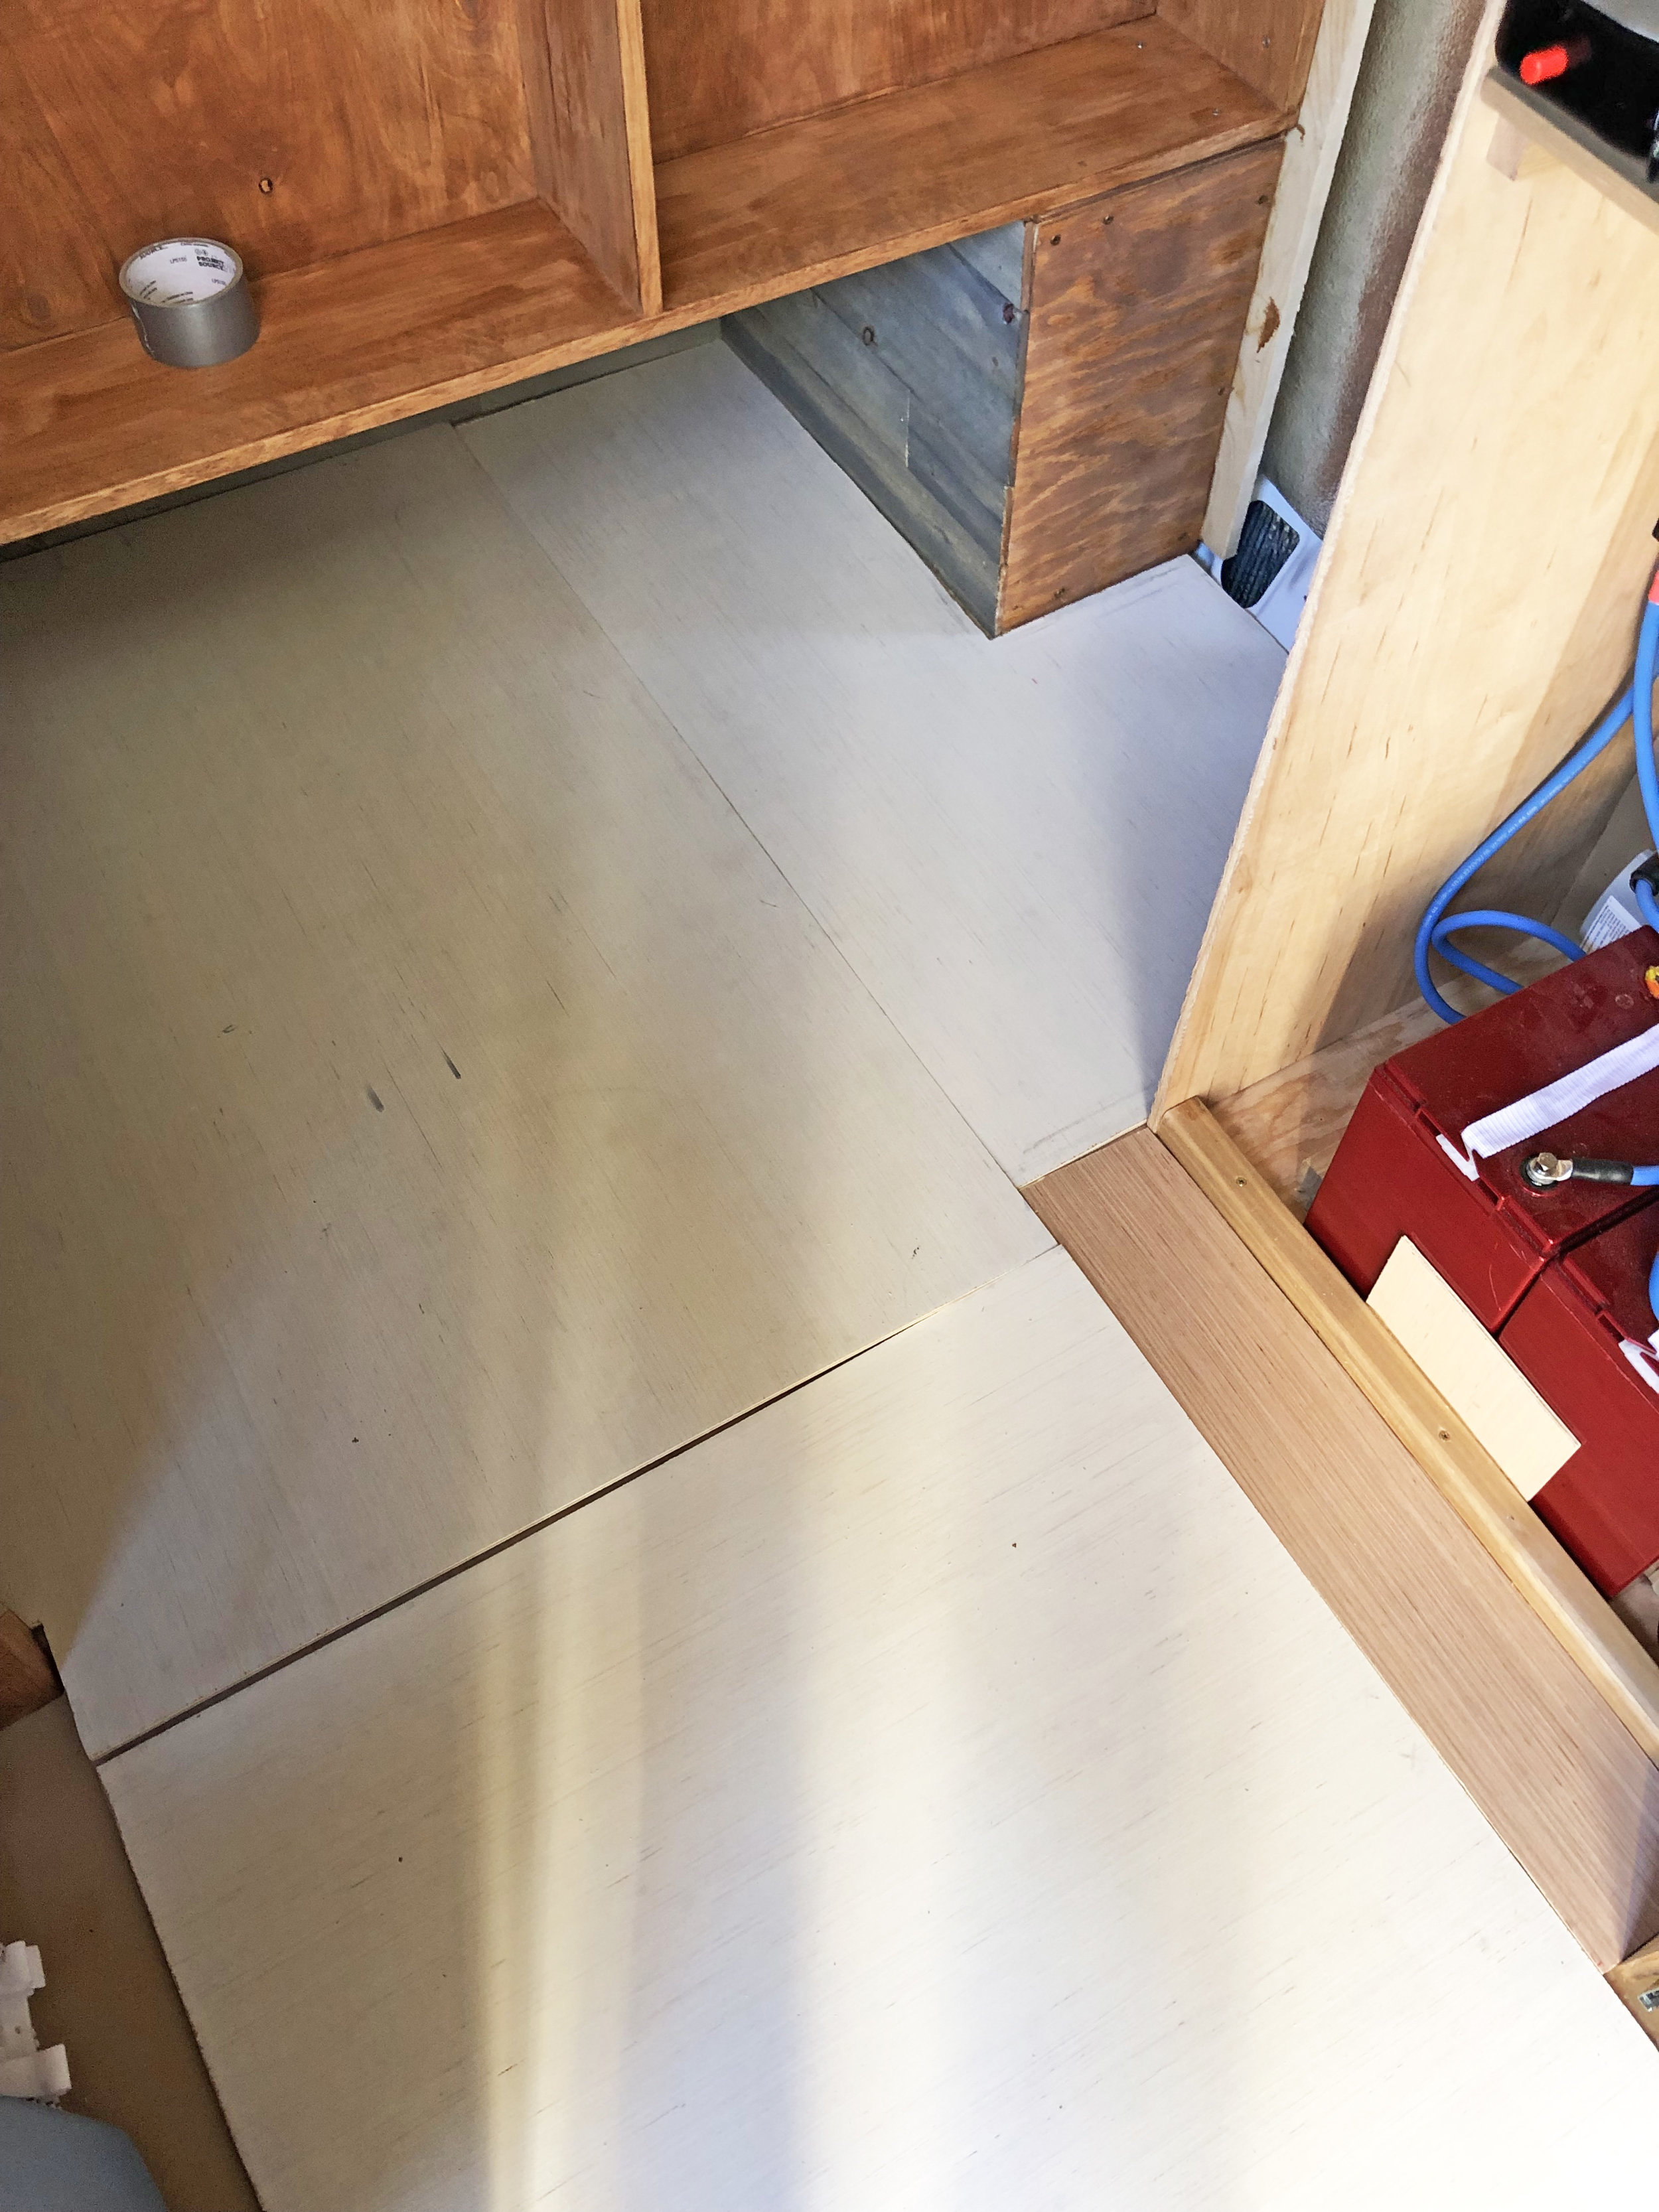
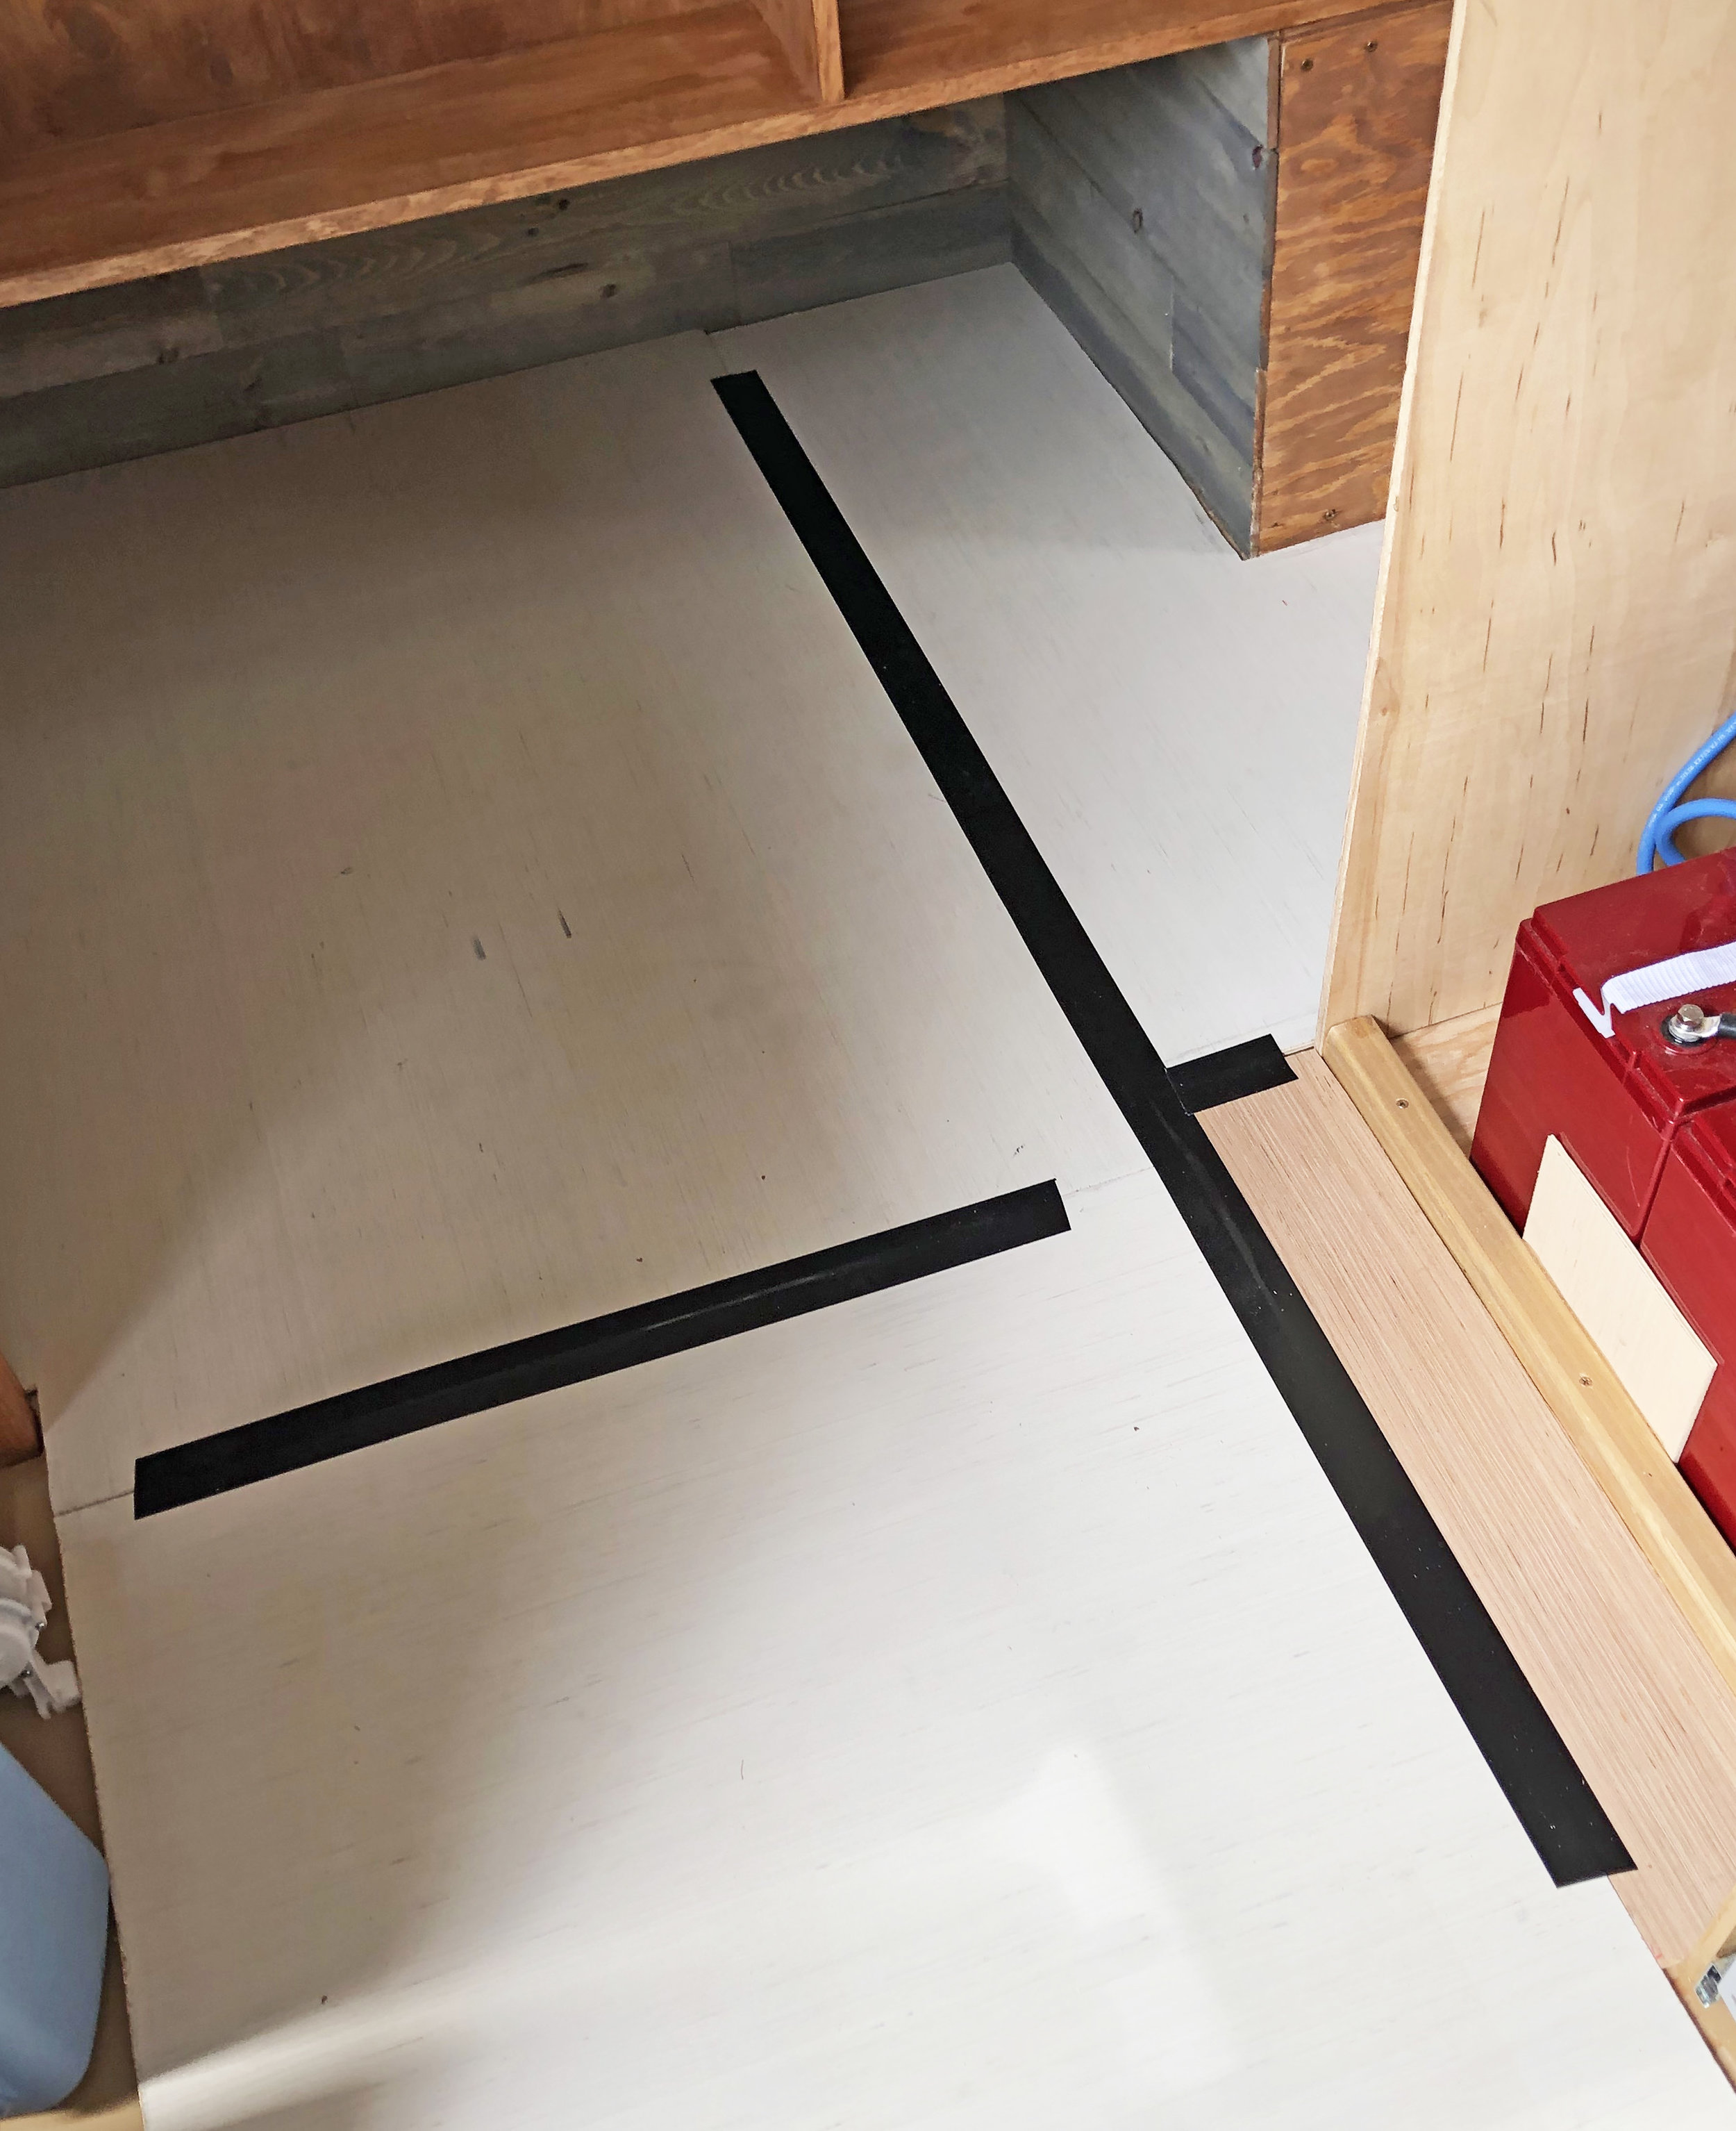
Our floating sub subfloor was merely 1/4” plywood. They actually sell 1/4” 4’x4’ blonde-wood “underlayment” sheets for this purpose which are fortunately cheaper than regular 1/4”. We didn’t cover the whole van; only the areas outside the cabinets and in the back storage where we planned on putting the vinyl tiles.
After laying down the sheets in both the front and back storage, we used Gorilla Tape over the seams to keep the sheets together
INSTALLING VINYL FLOORING IN YOUR VAN.
Ultimately, we chose to use vinyl tiles and to install them around our fixed cabinetry. After laying the sub subfloor, here’s how we did it:
Tools You’ll Need:
Straight edge
Measuring tape
Vinyl Tile Installation Steps:


Plan the layout.
Figure out the most optimal way to lay tiles so that you can get as many whole pieces with as little cutting as possible. This meant some trial and error of just placing the tiles (adhesive backing cover still on) into the space and figuring out where they naturally fit best. After that, where you start is up to you.
Pick your poison: doing the whole sheets first and leaving the harder edges to last, or getting the hard part out of the way first. Since you’ll be cutting edges either way, it doesn’t matter if you work end to end or center out.
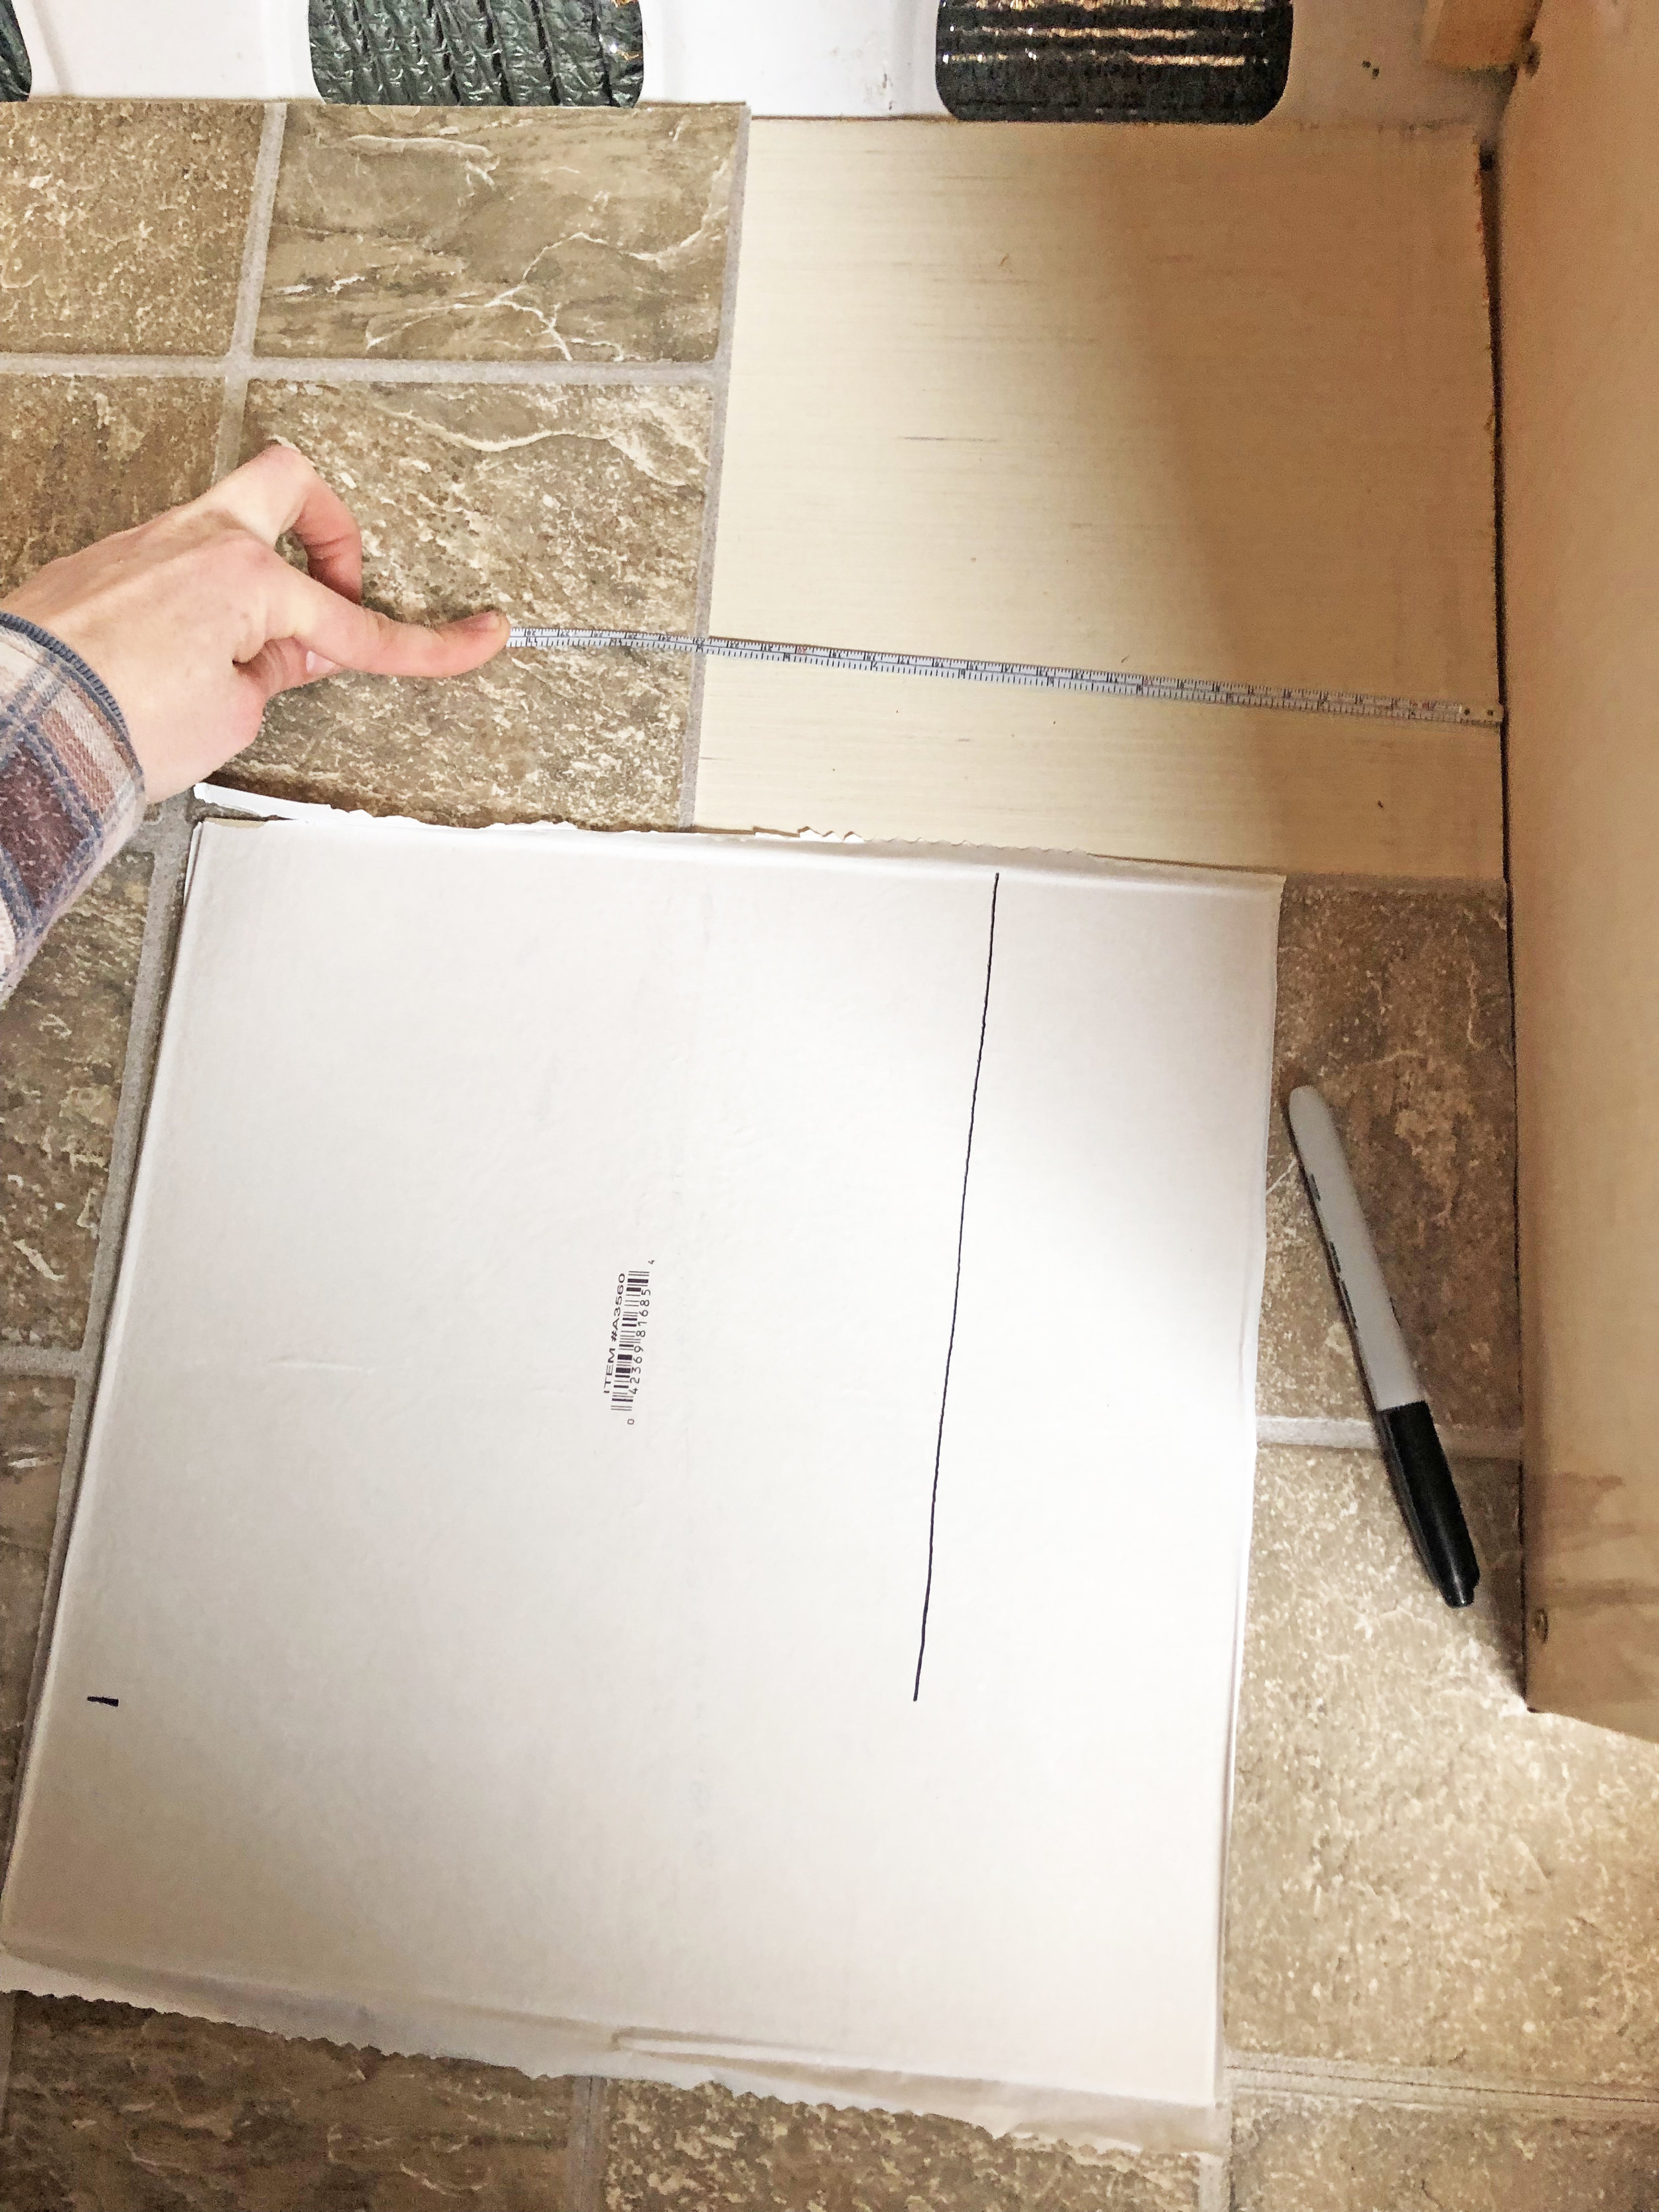
Cut the tile into the desired shape.
Here’s the tricky part, or at the very least, the frustrating part. Once you’ve figured out where each tile will go, draw its desired shape on the back adhesive cover sheet by measuring the space in which it will go.
Place the tile on a piece of scrap wood and use your utility knife to cut along the line, thereby “scoring” the tile. Then just snap it along the score. Depending on the tile top surface, you’ll probably then need to take the utility knife and cut straight down (as if you’re holding the tile up perpendicular to the floor) to sever the top layer.
Test in the space. If it’s too big, keep trimming until it fits. As we said, this can be frustrating and it’ll feel like you’re never cutting enough until you’ve cut too much.
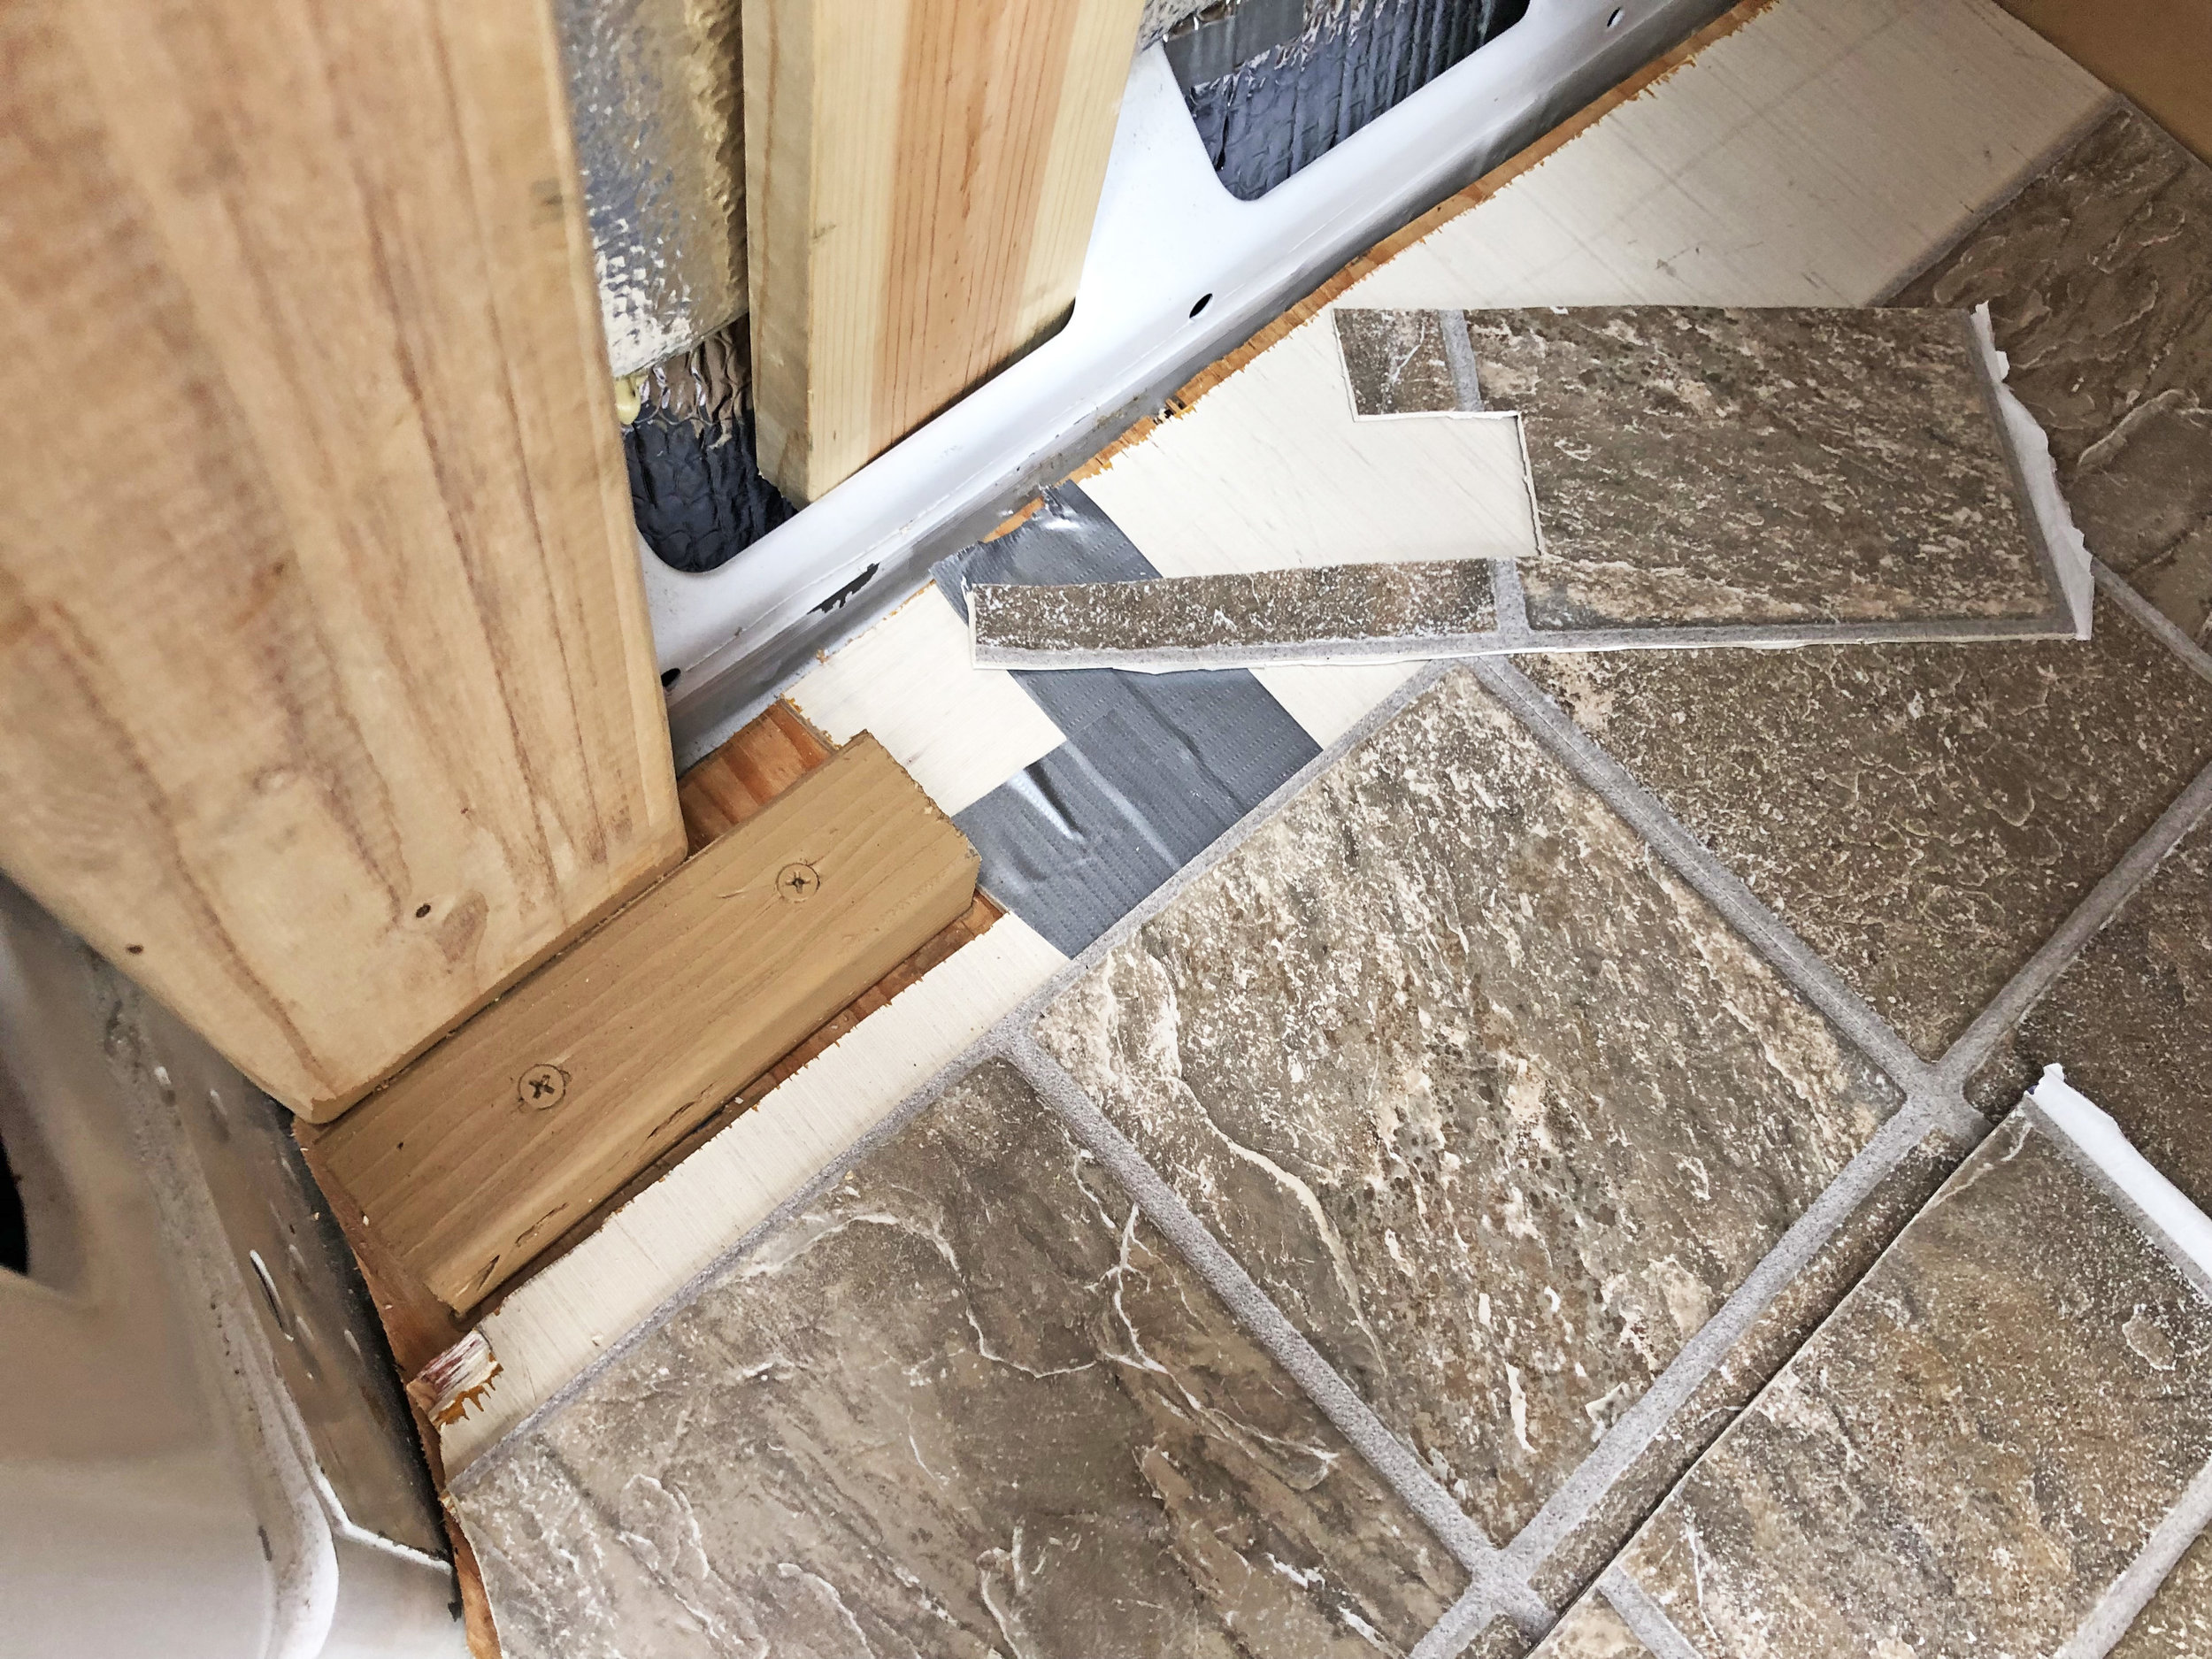
If you’re using tiles with smaller tiles (for us, each 1 sq. ft. tile had 4 tiles within it), it’s really challenging to match the grouting patterns and ensure the tiles line up between sheets. Sometimes it even means cutting a tiny piece out of a full sheet, as in the image. In such cases, we tried to use the edge scraps for other edge pieces so we weren’t wasting as much material (and money).
Patience and perseverance, friends.
Adhere tiles.
Ah, the easy part! Just peel off the back sheet and press it down into the desired area.
Be careful to be precise; the adhesive may not seem strong, but it’s a bitch to peel up if necessary. I ended up bleeding when replacing just two tiles. For small pieces, you may need some extra hold power.
We supplemented the adhesive backing in these cases with leftover 3M90 spray from our insulation days.
Seal the seams if desired.
Once all your tiles are down, you may want to add a tile sealant to the seams to keep dirt and moisture out.
We experimented with Infuze tile sealant in the back gear storage but ultimately did not like the sticky residue it left and thus opted to go sans sealant in the main body.
Add trim near the doors.
All your floor layers are visible and exposed by the doors, which is also where the greatest volume of traffic occurs.
Protect the edges and keep them from peeling up and getting wet by laying down a metal trim. Aluminum stair trim (2 sided at a right angle) works super well and is easy to both cut and stick down with any basic adhesive spray or dual-sided tape.
And there you have it! The groundwork for your van! Installing van floor can be tedious but it’s all relatively straightforward and requires no special carpentry skills (for which I was grateful after struggling to install cabinets).
Just take your time and always go for durability where possible. Your van is your tool for adventure. Make sure your van floor can keep up to all that dirt you’ll surely be tracking onto it from anywhere and everywhere.
BUDGET BREAKDOWN:
Resting after a job well done.
4 x ¾” 4’x8’ for exterior plywood ($182.20)
4 x ¼” 4’x4’ birch Superply underlayment plywood ($49.28)
55 x 12”x12” Tumbled stained vinyl tiles (39.05)
3 strips 36” aluminum edging ($38.40)
#8 Powerpro metal screws for edging ($2.02)
Infuze Seam Sealer ($11.70)
Total Van Floor Cost: $322.65
**This post contains affiliate links to support the continued creation of these van life guides. This just means that if you purchase something from one of the links above, I get a small commission from the sale at no cost to you. Read more here or reach out with more questions.